
Diesel Injector Copper Washer Failure: Symptoms, Causes & Replacement Guide
Introduction
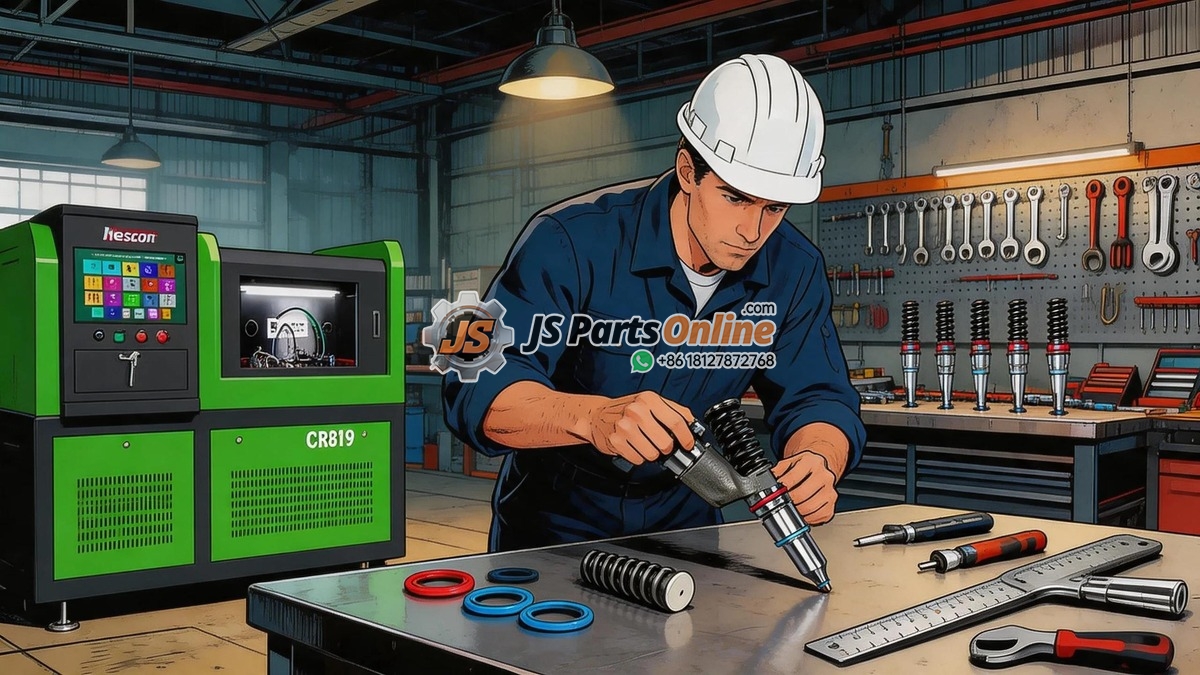
A copper washer costs less than a cup of coffee. But when that $2 washer fails, the repair bill can easily exceed $2,000. The copper injector seal — also called a crush washer, sealing washer, or fire ring — is the single most critical sealing component in a diesel engine’s combustion system. When it fails, combustion gases at 2,000+ degrees and 300+ bar blast past the injector body, carbonizing engine oil, eroding the injector bore, and creating the dreaded “black death” that can write off a cylinder head.
In this guide, I’ll cover everything you need to know about copper injector washer failure: how to spot the early warning signs, what causes these seals to fail, the complete step-by-step replacement procedure, and how to prevent repeat failures.
What Is an Injector Copper Washer?
The copper washer sits at the base of the injector, between the injector body and the cylinder head. Its job is deceptively simple but mechanically brutal:
- Gas seal: Prevents combustion gases from escaping past the injector into the rocker cover area
- Heat transfer: Conducts heat from the injector nozzle tip into the cylinder head cooling system
- Dimensional compensation: The crush (deformation) of the washer compensates for manufacturing tolerances, ensuring the nozzle tip protrudes the correct distance into the combustion chamber
Copper is chosen for this application because it’s soft enough to deform and create a perfect seal under clamping load, yet has excellent heat conductivity (401 W/m·K) and maintains its properties at the 200-300°C temperatures at the injector tip.
| Washer Material | Max Temperature | Thermal Conductivity | Reusable? | Common Applications |
|---|---|---|---|---|
| Pure copper (annealed) | 300°C | 401 W/m·K | Never — one-time crush seal | Most diesel injectors (Bosch, Denso, CAT) |
| Copper with steel core | 400°C | 350 W/m·K | Never — one-time crush seal | High-performance/duty cycle engines |
| Stainless steel | 800°C | 15 W/m·K | Sometimes (check OEM spec) | Specialized; less common, poorer heat transfer |
| Aluminum | 250°C | 205 W/m·K | Never — one-time crush seal | Light-duty applications only |
5 Critical Symptoms of a Failing Copper Injector Washer
1. Chuffing or Chuffing Sound from Engine
The most distinctive early warning sign. As combustion gases escape past a failed copper seal, they produce a rhythmic “chuff-chuff-chuff” sound — one chuff per combustion event on the affected cylinder. The sound is often most audible at idle and may disappear at higher RPMs as the frequency becomes too fast to distinguish individual pulses. Open the hood and listen near each injector — the sound will be loudest at the failed cylinder.
2. Black Death — Carbon Deposits Around the Injector
“Black Death” is the colloquial term for the hard, tar-like carbon deposits that form around a leaking injector. Here’s the chemistry: combustion gases contain unburned hydrocarbons and soot. When these gases escape past the injector body, they mix with engine oil in the rocker cover area. The heat bakes this mixture into a hard, coal-like crust that builds up around the injector base. Left unchecked, this deposit:
- Entombs the injector, making removal extremely difficult without special extraction tools
- Erodes the injector bore, requiring cylinder head machining or replacement
- Contaminates engine oil with abrasive carbon particles
- Restricts injector movement, preventing proper future sealing
3. Fuel Dilution of Engine Oil
In some failure modes, the copper washer leak allows fuel (not just combustion gas) to migrate past the injector into the crankcase. A rising oil level on the dipstick combined with a diesel fuel smell is a telltale sign. Fuel dilution thins the oil, reducing its load-carrying capacity and potentially causing bearing failure if left unaddressed.
4. Exhaust Smell from Engine Bay or Cabin
Leaking combustion gases fill the rocker cover with exhaust, which then exits through the crankcase ventilation system. If your PCV system vents to atmosphere or has a leaking hose, you’ll smell diesel exhaust in the engine bay. In severe cases, exhaust smell enters the cabin through the HVAC intake.
5. White or Blue Smoke from Exhaust
When combustion gases pressurize the rocker cover area through a failed injector seal, engine oil can be forced past valve stem seals or turbo seals into the intake or exhaust. The result is white-blue smoke, often intermittent and most noticeable at idle or during deceleration.
What Causes Copper Injector Washers to Fail?
| Cause | Mechanism | Prevention |
|---|---|---|
| Improper torque | Under-torqued: insufficient crush to form seal. Over-torqued: excessive deformation, washer extrudes from seat | Always use a calibrated torque wrench; follow OEM spec exactly |
| Dirty injector bore seat | Carbon, old washer fragments, or debris on the seat prevents the new washer from forming a uniform seal | Meticulously clean bore seat with a seat cutter tool before installation |
| Reusing old washers | Already-crushed copper washer cannot re-crush to form a new seal — it’s work-hardened and dimensionally wrong | Always replace with a new washer — no exceptions |
| Wrong washer thickness | Incorrect thickness changes nozzle tip protrusion into the combustion chamber, affecting spray pattern and combustion | Use OEM-specified washer thickness; measure if unsure |
| Injector bore erosion | Consecutive seal failures erode the aluminum cylinder head seat, creating an uneven surface that no washer can seal against | Machine the injector bore to an oversize and use an oversized seat insert |
| Excessive cylinder pressure | Tuned engines running higher boost pressure exceed the copper washer’s pressure rating | Consider steel-core or upgraded washers for high-performance applications |
| Improper injector hold-down clamp | Bent, stretched, or incorrectly torqued hold-down clamp applies uneven clamping force | Inspect clamp for straightness; replace stretched bolts |
Step-by-Step: How to Replace Diesel Injector Copper Washers
Tools and Materials Required
- New copper washers — OEM specification for your engine
- Injector bore seat cutter (engine-specific tool)
- Torque wrench (calibrated, with appropriate range for injector bolt spec)
- Injector removal tool / slide hammer (for stuck injectors)
- Engine oil or assembly lubricant for O-ring installation
- Shop vacuum with small nozzle attachment
- Clean lint-free rags
- Brake cleaner or carburetor cleaner (for carbon removal)
- Safety glasses and nitrile gloves
Step 1: Access the Injectors
Remove the rocker cover (valve cover). On most diesel engines, this requires removing intake plumbing, wiring harnesses, and possibly the high-pressure fuel lines. Label all connectors and photograph the routing before disassembly — this saves enormous frustration during reassembly.
Step 2: Inspect for Existing Carbon Build-Up
Before touching the injectors, photograph the area around each injector base. Note any carbon deposits, oil discoloration, or debris. This visual record helps identify which cylinders were leaking and guides your cleaning priorities.
Step 3: Remove the Injector
Remove the injector hold-down clamp bolt. On engines with a history of black death, the injector may be solidly carbon-welded into the bore. Use a proper injector removal tool or slide hammer — never pry against the injector body with a screwdriver, as this damages the precision-ground body and can snap the injector. Apply penetrating oil to the bore and let it soak if the injector is stubborn.
Step 4: Clean the Injector Bore Seat (CRITICAL STEP)
This is the most important step — and the one most frequently done wrong. The copper washer seals against the machined seat at the bottom of the injector bore. Any carbon, old washer material, or debris on this seat guarantees the new washer will fail. Use the injector bore seat cutter:
- Insert the cutter into the bore, ensuring it’s perfectly aligned with the bore axis
- Rotate by hand — NOT with a power tool — applying gentle, even pressure
- Make 3-4 complete rotations, then remove and inspect the cutting face for carbon residue
- Repeat until the cutter face comes out clean, indicating a perfectly flat, carbon-free seat
- Vacuum out all cutting debris from the bore using the shop vacuum with small nozzle
- Wipe the seat with a clean, lint-free rag moistened with brake cleaner
Step 5: Install the New Copper Washer
Place the new copper washer onto the injector nozzle. Some washers are directional — check for a chamfer or marking that indicates the orientation. The washer should slide freely onto the nozzle without binding. If it’s tight, do not force it — verify you have the correct part number.
Step 6: Lubricate O-Rings and Install Injector
Apply a thin film of clean engine oil or assembly lubricant to all O-rings. This prevents the O-rings from rolling, pinching, or tearing during installation. Insert the injector straight into the bore — do not twist or tilt, as this can displace the copper washer from the seat.
Step 7: Torque the Hold-Down Clamp
Install the hold-down clamp and tighten the bolt. Follow the OEM torque specification exactly — typically in the range of 30-55 Nm for most diesel injectors. Many manufacturers specify a two-stage torque procedure: an initial seating torque followed by a final angle torque. If your engine specifies an angle torque, you must use an angle gauge — guessing by feel will result in either under-torque (seal failure) or over-torque (stripped threads in the cylinder head).
Step 8: Reassemble and Test
Reinstall the rocker cover with a new gasket. Reconnect all fuel lines, wiring harnesses, and intake plumbing. Before starting the engine, prime the fuel system according to the manufacturer’s procedure — common rail systems should never be cranked dry. Start the engine and check for any chuffing sounds. Let the engine reach operating temperature and inspect for leaks.
Common Mistakes to Avoid
| Mistake | Consequence | How to Avoid |
|---|---|---|
| Skipping the bore seat cleaning | New washer fails within 1,000-5,000 miles | Always use a seat cutter; never “just clean with a rag” |
| Using a power drill on the seat cutter | Uneven cutting, oval-shaped seat, ruined cylinder head | Hand-turn only — this is a precision surfacing operation |
| Reusing the old hold-down bolt | Stretched bolt provides insufficient clamping force | Replace torque-to-yield bolts; inspect reusable bolts for stretch |
| Mixing washer thicknesses between cylinders | Uneven nozzle protrusion, rough idle, uneven combustion | Measure every washer; use only one thickness per engine |
| Failing to lubricate O-rings | Rolled or torn O-ring during installation, oil leak | Always pre-lubricate with engine oil |
Related Injection System Products
When you’re replacing injector copper washers, it’s often the right time to evaluate the injectors themselves. At JS Parts Online, we supply complete injector seal kits and premium replacement injectors:
- Diesel Fuel Injectors — CAT, Bosch, Denso, and Delphi injectors for heavy-duty applications
- Fuel Injection Pump Plungers — Precision-matched plunger and barrel assemblies for CAT pumps
- Diesel Injector Nozzles — OEM-spec replacement nozzles including DLLA, DSLA, and P-type series
Conclusion
The copper injector washer is the cheapest component in the fuel system and the most expensive to ignore. Its failure cascade — from chuffing sound to black death to cylinder head damage — is entirely preventable with proper installation technique and a $2 part. Clean the bore seat meticulously, use the correct washer, torque to specification, and this tiny copper ring will do its job silently for hundreds of thousands of miles.





JSPartsonline:
Focus on injectors for 12 years,We sell high-quality fuel injectors at competitive prices.
Copyright 2025 © YUN·X . All right reserved.
