
The Diesel Injector Remanufacturing Process: From Core Return to Calibrated Unit
Introduction
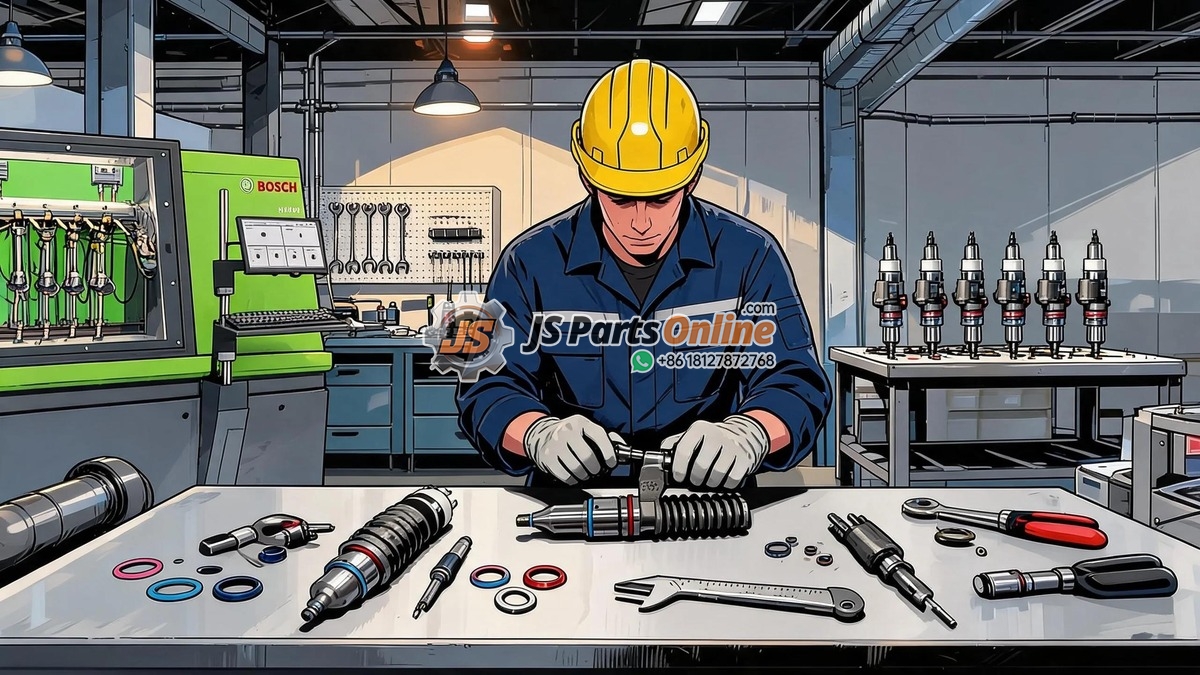
When a diesel injector is described as “remanufactured,” what does that actually mean? For some sellers, it means the injector was wiped clean, tested on a pop tester, and put in a box. For others, it means a complete disassembly, replacement of every wear component with OEM-specification parts, precision reassembly in a cleanroom environment, and individual calibration on a $80,000 test bench.
The difference between these two interpretations of “remanufactured” is the difference between an injector that lasts 300,000 miles and one that fails in 3,000. This guide takes you inside the professional diesel injector remanufacturing process — from the moment a core arrives at the facility to the moment a calibrated, documented injector ships back to the customer.
What “Remanufactured” Should Mean
The diesel injection industry suffers from inconsistent terminology. Understanding the distinctions is essential before you buy:
| Term | What It Typically Means | What It Should Mean |
|---|---|---|
| Used / Take-off | Removed from a running engine; may be cleaned externally; no testing, no new parts | Sold as-is with no guarantee of function — a core, not a replacement part |
| Tested / Inspected | Run through a test cycle; passed operational check; original wear components intact | Suitable as a diagnostic step, not a long-term repair — wear is unknown |
| Rebuilt / Overhauled | Disassembled, cleaned, worn parts replaced with new, reassembled and tested | Nozzle and seals replaced; solenoid and body may be original; calibration may be basic |
| Remanufactured (professional standard) | Complete disassembly to bare components; all wear parts replaced with new; reassembled to factory specifications; individually calibrated; full test report provided | Functionally equivalent to new — should meet or exceed all OEM performance specifications |
| New OEM | Manufactured by the original equipment manufacturer to current production standards | Brand new, never used; full OEM warranty; highest cost option |
Stage 1: Core Reception and Triage
Remanufacturing begins the moment a used injector — the “core” — arrives at the facility. Not every core is suitable for remanufacturing, and the triage process determines which injectors proceed and which are rejected.
Core Acceptance Criteria
- Complete injector: All major components must be present — nozzle, solenoid/actuator, body, inlet connector. Missing components may make remanufacturing uneconomical
- No catastrophic mechanical damage: A cracked body, severely damaged nozzle seat, or destroyed solenoid housing typically means the core is scrap
- Identifiable part number: The remanufacturer must be able to positively identify the injector model to source the correct replacement parts and calibration data
- No evidence of water immersion: Injectors recovered from flooded engines or stored submerged in water suffer internal corrosion that makes reliable remanufacturing impossible
Core Grading
Accepted cores are graded based on condition, which affects the remanufacturing cost and determines the core credit value:
- Grade A: Complete, running when removed, no visible damage — full core credit
- Grade B: Complete but with visible external issues (corroded connector, damaged threads, seized solenoid) — reduced credit; repairs may be possible
- Grade C: Missing minor components, high mileage, evidence of water or contamination — minimum credit or rejected
- Reject: Cracked body, severe corrosion, missing major components — no credit; returned to customer or scrapped
Stage 2: Pre-Disassembly Testing (As-Received Baseline)
Before a single bolt is turned, the injector goes through a complete test cycle to establish a baseline. This pre-disassembly test serves several purposes:
- Confirms the core’s identity: Delivery patterns and response characteristics verify the injector is the model claimed
- Identifies specific failures: A delivery deficit at idle points to a control valve issue; high back-leakage indicates needle guide wear; slow response suggests solenoid degradation
- Establishes the wear pattern: The as-received data tells the technician what to look for during disassembly — and what replacement parts will definitely be needed
- Detects “passed-off” cores: An injector that was previously “remanufactured” by another shop but is already failing will show telltale signs — unusual delivery patterns, incorrect calibration, or aftermarket parts that don’t match OEM specifications
Stage 3: Complete Disassembly
Professional remanufacturing means the injector comes apart completely — every nut, every shim, every spring, every seal. Nothing is left assembled.
Disassembly Sequence (Common Rail Injector)
- Nozzle retaining nut removal: Using a specialized fixture that prevents torque from being transmitted through the injector body — improper disassembly can twist the body and ruin the injector
- Nozzle assembly extraction: The nozzle needle, spring, shims, and spacer are removed as a group and kept together for inspection
- Solenoid/actuator removal: The electrical actuator is separated from the hydraulic section. The armature plate, armature spring, and valve ball are extracted
- Control valve disassembly: The valve body, ball seat, and control plunger are separated. This is one of the highest-wear areas in a common rail injector
- Needle guide and body: In piezoelectric injectors, the piezo stack is extracted; in solenoid injectors, the coil is removed from the housing
- Complete seal removal: All O-rings, copper washers, backup rings, and gaskets are removed — nothing is reused
Stage 4: Ultrasonic Cleaning and Inspection
After disassembly, every metal component undergoes a multi-stage cleaning process:
Cleaning Process
- Solvent degreasing: Removes oil, fuel residue, and external carbon deposits
- Ultrasonic cleaning: Components are immersed in a heated, agitated cleaning solution inside an ultrasonic bath. The high-frequency sound waves create microscopic cavitation bubbles that scrub every surface — including blind holes, internal passages, and thread roots that no brush can reach. Typical cycle: 30-60 minutes at 60-80 degrees C
- High-pressure rinse: Filtered solvent or water at 1,000+ psi flushes loosened contaminants from all passages
- Drying: Compressed air drying followed by a low-temperature oven cycle to remove all moisture
Precision Inspection
Every component is inspected under magnification against OEM specifications:
| Component | Inspection Method | What’s Checked |
|---|---|---|
| Nozzle needle | Microscope, 50-100x magnification | Seat surface for erosion, pitting, or uneven wear; guide diameter for wear; tip for carbon adhesion |
| Nozzle body | Microscope + flow test | Sac hole condition; spray hole diameter and shape; needle guide bore clearance |
| Control valve ball and seat | Microscope, 100x+ magnification | Ball sphericity; seat contact pattern; any pitting or erosion on sealing surfaces |
| Solenoid armature | Gauge measurement | Air gap specification; armature plate flatness; return spring free length |
| Injector body | Borescope + gauge | Internal passage cleanliness; thread condition; O-ring groove condition; body straightness |
| Solenoid winding | Resistance measurement + insulation test | Coil resistance within specification; insulation resistance to body (megohms) |
Stage 5: Component Replacement — What Gets Replaced
In a professional remanufacturing process, the following components are always replaced with new, OEM-specification parts:
| Component | Reason for Replacement |
|---|---|
| Nozzle assembly (complete) | Spray holes erode with use; needle seat wears; nozzle is the highest-wear component in the entire injector |
| Control valve (ball, seat, plunger, spring) | Control valve components cycle millions of times and wear progressively; worn control valve causes delivery inaccuracy |
| All O-rings and seals | Rubber components age, harden, and take a compression set; never reused in professional remanufacturing |
| Copper crush washer (fire ring) | One-time-use component — copper work-hardens during installation crush |
| High-pressure inlet seal | Crush-type seal; replaced every time the connection is opened |
| Solenoid O-ring (between solenoid and body) | Prevents moisture ingress into solenoid cavity |
| Electrical connector seal | Prevents moisture and debris from entering the electrical connection |
Components that may be reused if within specification:
- Solenoid/actuator assembly (if electrical tests pass and response time is within spec)
- Injector body (if no cracks, corrosion, or thread damage)
- Nozzle retaining nut (if threads are undamaged and surface finish is intact)
- Calibration shims (if present and the original calibration data is known)
- Return line connector (if undamaged)
- Piezo stack (in piezoelectric injectors — if capacitance and stroke are within specification)
Stage 6: Precision Reassembly
Reassembly is the inverse of disassembly — but with far tighter controls. Professional remanufacturing facilities typically assemble injectors in a cleanroom environment (ISO Class 7 or better) to prevent dust and debris from contaminating internal components.
Key Assembly Specifications
- Nozzle retaining nut torque: Critical — under-torque allows internal leakage between nozzle and body; over-torque distorts the nozzle body, seizing the needle. Typically 50-80 Nm depending on injector model
- Solenoid air gap: The gap between the solenoid armature and the valve body — typically 0.04-0.08mm. Set with precision shims. Too large: slow response, reduced delivery. Too small: armature contacts valve body, causing wear and inconsistent operation
- Needle lift: The distance the nozzle needle travels from closed to fully open. Set with shims under the needle spring. Incorrect lift changes spray characteristics and delivery volume
- Control valve spring preload: Set with shims to achieve the specified opening pressure and response time
- All fasteners torqued to specification: Using calibrated torque wrenches with documented values for every fastener
Stage 7: Post-Assembly Testing and Calibration
After reassembly, the injector goes through the same complete test cycle as a new unit — but now with specific calibration adjustments:
Test Points
- Leak test: Injector pressurized to maximum rail pressure with no injection command — confirms zero external leakage
- Pre-injection (pilot): Low-pressure, short-pulse delivery check — verifies the injector can deliver the tiny fuel quantities required for pilot injection (typically 1-3 mm³/stroke)
- Idle delivery: Simulates idle conditions — verifies stable delivery at small quantities
- Part-load delivery: Mid-range pressure and pulse width — the most common operating condition
- Full-load delivery: Maximum pressure, maximum pulse width — verifies the injector can deliver rated fuel quantity
- Post-injection: Verifies late-cycle injection capability — important for DPF regeneration
- Back-leakage measurement: Internal return flow at maximum pressure — must be below the manufacturer’s specified maximum
- Response time measurement: Electrical-to-hydraulic delay — must be within specification
- Minimum delivery quantity: The smallest consistently reproducible injection — typically 1-2 mm³
Calibration Adjustments
If any test point falls outside specification, the injector is adjusted and re-tested:
- Delivery volume adjusted by changing calibration shim thickness
- Response time adjusted by modifying solenoid air gap
- Spray pattern corrected by nozzle replacement (cannot be “fixed” — only replaced)
- Back-leakage addressed by control valve or needle guide replacement
IMA Code Generation
For modern common rail injectors, the remanufacturing process includes generating a new IMA (or trim) code that reflects the injector’s actual calibrated flow characteristics. This code, typically 7-16 characters, is printed on the injector body and provided in the documentation. Without this code, the ECU cannot properly compensate for the individual injector’s characteristics.
Stage 8: Final Quality Control and Documentation
Before an injector leaves the remanufacturing facility, it passes through final QC:
- Visual inspection: Exterior cleanliness, no damage, all protective caps installed, IMA code clearly legible
- Documentation check: Test report present and complete; all values within specification; technician signature and date
- Packaging: Injector sealed in a protective bag or container; desiccant packet included to prevent corrosion during storage; proper labeling with part number, serial number, and IMA code
- Serial number tracking: The injector’s serial number, test data, and component change history are logged in the facility’s quality database for warranty and traceability purposes
How Long Does Professional Remanufacturing Take?
| Process Stage | Time per Injector | Cumulative |
|---|---|---|
| Core reception and triage | 5-10 minutes | 10 min |
| Pre-disassembly baseline test | 15-20 minutes | 30 min |
| Complete disassembly | 10-15 minutes | 45 min |
| Ultrasonic cleaning and drying | 60-90 minutes (batch process) | 2.5 hours |
| Inspection and measurement | 15-20 minutes | 3 hours |
| Parts sourcing and preparation | 5-10 minutes (if parts are in stock) | 3.2 hours |
| Reassembly in cleanroom | 15-20 minutes | 3.5 hours |
| Post-assembly test and calibration | 20-30 minutes | 4 hours |
| Final QC and packaging | 10 minutes | 4.2 hours |
Total: approximately 4 hours of active work per injector, spread across 2-5 days of calendar time due to batch processing of cleaning and multi-stage testing. A set of 6 injectors typically takes 5-10 business days from core receipt to shipment.
How to Evaluate a Remanufactured Injector Supplier
When buying remanufactured injectors, ask these questions to separate professional remanufacturers from “clean-and-test” operations:
- “Do you replace the nozzle and control valve on every injector?” — The correct answer is yes, always
- “What test bench do you use for final calibration?” — Should be a named professional bench (Bosch, Hartridge, CR819, Delphi)
- “Can you provide the test report and IMA code before shipping?” — A professional remanufacturer can email you the report
- “What’s your warranty period?” — Minimum 12 months for a quality reman; 24 months is common from top-tier suppliers
- “Do you track injectors by serial number?” — Yes means they have a quality system; no is a red flag
- “What cleaning process do you use?” — Ultrasonic cleaning with documented procedures
- “Are your replacement parts OEM-specification?” — Should be yes with documentation; “equivalent” or “compatible” without specifics is concerning
Quality Remanufactured Injectors from JS Parts Online
Every remanufactured diesel injector we supply follows the complete 8-stage process described above. New nozzles, new control valves, new seals — individually calibrated and shipped with a complete test report:
- Caterpillar Fuel Injectors — Remanufactured to OEM specifications, individually tested
- Bosch Common Rail Injectors — Complete reman with calibration data and IMA codes
- Denso Diesel Injectors — Japanese diesel precision, professionally remanufactured
- Fuel Injection Pump Plungers — Complete your fuel system with matched components
Conclusion
Professional diesel injector remanufacturing is not about cleaning up used parts and hoping for the best. It’s a disciplined industrial process — disassembly, inspection, replacement of every wear component, precision reassembly, and individual calibration — that produces an injector functionally equivalent to a new unit at a fraction of the cost.
When you buy a professionally remanufactured injector, you’re not just buying a part. You’re buying the expertise of the technician who inspected it under 100x magnification, the precision of the test bench that measured its delivery to 0.1mm³ accuracy, and the quality system that ensures every injector leaving the facility meets or exceeds OEM performance specifications. That’s what “remanufactured” should mean — and that’s the standard JS Parts Online delivers.





JSPartsonline:
Focus on injectors for 12 years,We sell high-quality fuel injectors at competitive prices.
Copyright 2025 © YUN·X . All right reserved.
