
Diesel Injector Seal Kit Replacement: Complete Guide to O-Rings, Seals & Gaskets
Introduction
A complete diesel injector seal kit costs anywhere from $12 to $55. The labor to replace those seals — if you catch the leak early — might be an hour in a well-equipped shop. But if you ignore a weeping fuel leak or a compression blow-by at the injector seat, the repair can escalate to thousands of dollars in piston, cylinder head, and turbocharger damage.
Diesel injector seals are the silent guardians of your engine’s combustion chamber. This guide covers every seal in the injector assembly: what each one does, how they fail, how to diagnose seal problems before catastrophic damage occurs, and the correct replacement procedures for common rail and mechanical injectors alike.
Why Injector Seals Matter More Than You Think
The modern diesel injector sits at the intersection of three hostile environments: 30,000+ psi fuel pressure inside, 500+ bar combustion pressure outside, and cylinder head temperatures that can exceed 400 degrees C at the nozzle tip. Every seal in the assembly has one job: keep these environments separate.
When a seal fails, the consequences cascade:
- Fuel dilution of engine oil: A leaking O-ring allows diesel to seep past the injector body into the valve train area, thinning the engine oil and destroying its lubricating properties. This is one of the most common causes of premature bearing failure in common rail diesel engines
- Combustion gas blow-by: A failed copper crush washer or fire ring allows hot combustion gases to escape past the injector, carbonizing the injector bore and nozzle tip. This “coking” can seize the injector in place — making removal a nightmare
- Coolant contamination: On engines where the injector sleeve passes through the water jacket (common in many CAT, Cummins, and Detroit Diesel engines), a failed sealing ring allows coolant into the combustion chamber and combustion gases into the cooling system
- Oil coking in the injector bore: Engine oil seeping into the injector bore carbonizes from heat exposure, forming a hard deposit that pushes the injector upward — affecting spray angle and nozzle protrusion
The Complete Injector Seal Map
Every diesel injector uses multiple seals at different positions. Understanding what each one does is essential for proper diagnosis:
| Seal Type | Location | Function | Common Material |
|---|---|---|---|
| Copper crush washer (fire ring) | Nozzle tip to cylinder head seat | Seals combustion chamber from injector bore; conducts heat from nozzle to cylinder head | Annealed copper, sometimes copper with internal stainless ring |
| O-ring — top (atmosphere seal) | Upper injector body to rocker cover | Prevents oil from leaking out of valve cover area | Viton (FKM), silicone (VMQ) |
| O-ring — middle (fuel/oil separation) | Mid-body to injector bore in head | Separates fuel return gallery from engine oil in cylinder head | Viton, HNBR |
| O-ring — bottom (combustion seal backup) | Lower body near nozzle | Secondary seal; prevents combustion gases from traveling up injector body | High-temp Viton, PTFE-coated |
| High-pressure inlet seal | Fuel inlet connector to injector body | Seals the high-pressure fuel connection; prevents external fuel leak | Copper, stainless steel, or composite crush washer |
| Return line seal/O-ring | Fuel return connector | Seals low-pressure return circuit | Viton, nitrile (NBR) |
| Solenoid housing seal | Solenoid to injector body joint | Prevents moisture and debris ingress into solenoid cavity | Pre-formed gasket, O-ring, or liquid gasket |
Symptoms of Injector Seal Failure
Different seal failures produce different symptoms. Learning to read these signs is critical for accurate diagnosis:
Failed Copper Crush Washer (Fire Ring)
- Black carbon tracking visible around the injector body or on the rocker cover near the injector hole
- Chuffing/chirping sound from the injector area — a rhythmic puffing noise synchronized with the firing order
- Fuel or oil residue that looks “baked on” around the injector base — dark, crusty deposits
- Bubbling when you spray soapy water around the injector base with the engine running
- Loss of compression on a single cylinder — often misdiagnosed as a valve or ring problem
Failed Upper O-Rings (Oil/Fuel Leak)
- Visible fuel or oil weeping from the top of the injector or the rocker cover injector hole
- Diesel smell in engine oil on the dipstick — fuel dilution confirmed by oil analysis showing rising oil level or falling viscosity
- Oil consumption increase without visible exhaust smoke — oil leaking externally rather than burning
Failed Return Line Seal
- Fuel pooling around the injector return line connections, especially visible after engine shutdown
- Fuel weep that evaporates quickly on a hot engine, leaving a clean “washed” spot on an otherwise dirty engine
- Excessive fuel return volume when performing injector return flow testing
Diagnostic Checklist Before Seal Replacement
Before you order a seal kit and tear into the engine, confirm the root cause:
| Check | How to Perform | What It Reveals |
|---|---|---|
| Visual inspection | Clean the injector area thoroughly, run the engine, and inspect with a bright flashlight | Identifies external leak location (fuel vs oil vs combustion gas) |
| Soap bubble test | Spray soapy water around injector base with engine idling | Confirms combustion gas blow-by at fire ring |
| Oil analysis | Send oil sample to lab or use DIY fuel dilution test strip | Quantifies fuel dilution from leaking internal O-rings |
| Cylinder leak-down test | Pressurize cylinder at TDC compression, listen at injector bore | Confirms compression leak at fire ring vs valves vs piston rings |
| Injector bore inspection | Remove injector, inspect bore with borescope | Checks for carbon tracking, bore erosion, sleeve damage |
| Coolant system pressure test | Pressurize cooling system, look for coolant at injector sleeves | Identifies failed injector sleeve seals (wet-sleeve engines) |
Preparing for Seal Replacement: Essential Tools and Parts
Seal Kit Contents: What You Should Get
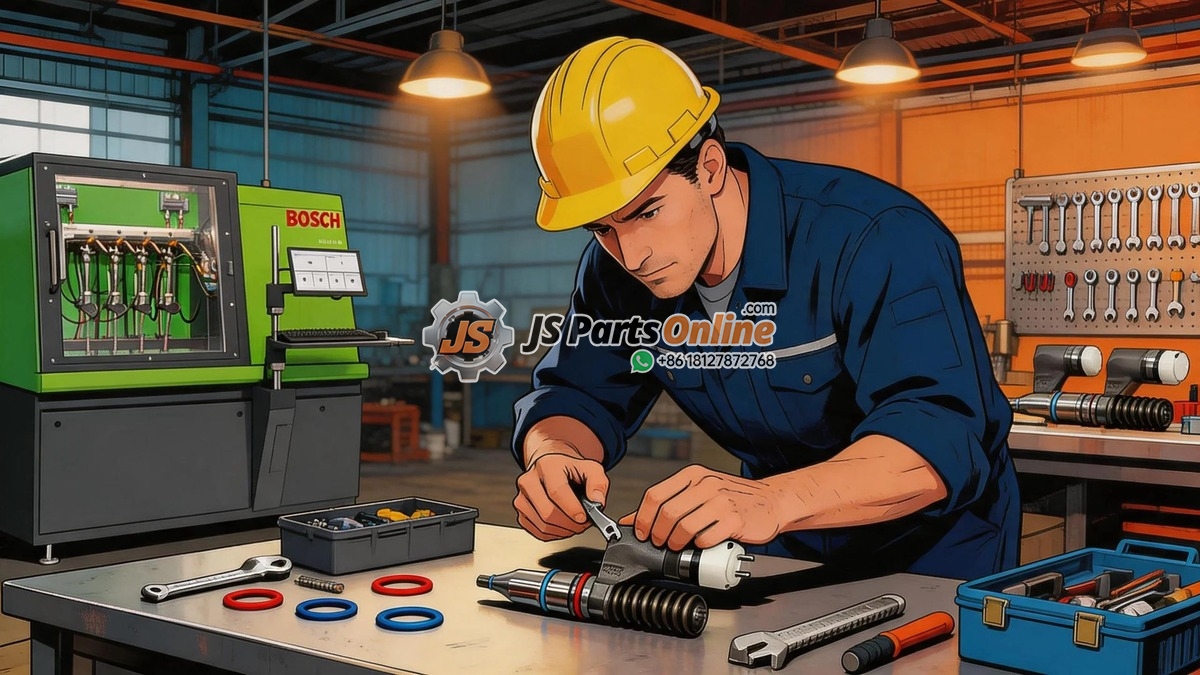
A quality complete seal kit for a common rail injector should include:
- Copper crush washer (fire ring) — always replaced, never reused. Some high-performance washers feature an internal stainless steel ring for crush control
- Upper O-ring (atmosphere seal)
- Middle O-ring (fuel/oil separation)
- Lower O-ring or backup ring
- High-pressure inlet connector seal (copper or stainless crush washer)
- Return line O-ring
- Optional: injector hold-down bolt (torque-to-yield bolts must be replaced)
Essential Tools
- Injector bore cleaning brush set: Available in various diameters to clean the injector seat and bore without scratching
- Copper washer removal tool: A slide hammer with a hook or expanding collet to extract stuck washers
- Injector seat cutter set: For resurfacing a damaged or pitted injector seat in the cylinder head
- Torque wrench (digital preferred): Injector hold-down bolts typically require 25-45 Nm — under-torque causes seal failure, over-torque cracks the injector body
- Borescope: Essential for inspecting the injector bore and seat before reassembly
- Vacuum extractor: To remove any debris that falls into the cylinder through the injector hole
- Non-metallic pick set: For removing old O-rings without scratching the injector body or O-ring groove
- Assembly lubricant: Clean diesel fuel or dedicated O-ring assembly grease — never use petroleum jelly on fuel system O-rings
Step-by-Step Seal Replacement Procedure
Step 1: Preparation and Safety
Clean the entire injector area before removing anything. Use brake cleaner and compressed air. Any debris falling into the open injector hole will end up on top of the piston — where it can score the cylinder wall on the first revolution.
Step 2: Remove the Injector
Follow the manufacturer’s removal sequence exactly. Note the orientation of any asymmetrical connectors. If the injector is seized (carbon-welded into the bore), use a proper hydraulic injector puller — never pry against the solenoid housing or use a slide hammer on the injector body.
Step 3: Clean the Injector Bore
This is the most critical step in the entire procedure. A dirty injector seat is the #1 cause of repeat fire ring failure.
- Insert a clean rag or bore plug below the seat area to catch debris
- Use the correct-diameter bore brush in a rotary motion — not in-and-out — to clean carbon from the bore walls
- Inspect the nozzle seat with a borescope. The seat surface must be perfectly clean and smooth
- If the seat is pitted or eroded, use an injector seat cutter to resurface it. Follow the cutter manufacturer’s depth specifications precisely
- Vacuum the bore thoroughly, then remove the rag/plug
Step 4: Install New Seals on the Injector
- Carefully remove all old O-rings with a non-metallic pick — never use a screwdriver or steel pick that can scratch the sealing groove
- Inspect each O-ring groove under magnification or with a strong light. Any pitting or corrosion in the groove will cause the new O-ring to fail
- Lubricate new O-rings with clean diesel fuel or assembly lubricant
- Roll O-rings into position — never stretch them over the injector body. Stretching creates thin spots that become leak paths
- Install the copper crush washer on the nozzle tip. The flat side faces the cylinder head seat, the rounded/tapered side faces the injector body (check manufacturer specification — orientation matters)
Step 5: Reinstall the Injector
- Insert the injector straight into the bore — any tilting can damage the O-rings or the nozzle tip
- Install the hold-down clamp or fork, aligning it correctly with the injector body groove
- Lubricate the hold-down bolt threads and underside of the bolt head with the specified lubricant (usually engine oil or moly assembly paste)
- Torque in stages: 50%, then 75%, then 100% of specified torque
- If the bolt is torque-to-yield (TTY), follow the angle-torque specification exactly — typically “25 Nm + 90 degrees + 90 degrees”
Step 6: Verify the Repair
- Start the engine and let it idle until it reaches operating temperature
- Spray soapy water around each injector base — no bubbles should appear
- Check for fuel leaks at all fuel connections
- After a test drive, re-inspect all injector areas for any sign of weeping or carbon tracking
- Re-torque hold-down bolts if the manufacturer specifies a hot re-torque procedure
Common Seal Kit Replacement Mistakes
| Mistake | Consequence | Prevention |
|---|---|---|
| Reusing the old copper washer | Immediate fire ring failure — copper work-hardens and won’t re-crush to seal | Never reuse a crush washer. Period. |
| Using the wrong O-ring material | Chemical attack from modern diesel fuel additives swells or dissolves the O-ring | Use only Viton (FKM) or HNBR O-rings rated for ULSD/biodiesel exposure |
| Leaving debris in the injector bore | Carbon particles embed in the copper washer, creating a leak path | Borescope inspection before reassembly |
| Reusing a torque-to-yield bolt | Bolt stretches on first installation; reuse fails to maintain proper clamp load, causing seal failure within hours | Always replace TTY bolts. Check the service manual. |
| Mixing seal kit brands on one injector | Incompatible material chemistries between brands may react with each other or have different thermal expansion rates | Use a complete kit from one manufacturer per injector |
| Installing O-rings dry | O-ring rolls, twists, or tears during insertion, creating an immediate leak | Always lubricate with clean diesel or assembly lube |
When to Replace Seals — Maintenance Schedule Guidelines
Injector seals don’t have a fixed replacement interval like engine oil. However, there are smart opportunities to replace them preventively:
- Every injector removal: If you take an injector out for any reason (testing, cylinder head work, turbo replacement requiring injector access), install a new seal kit. The copper washer is a one-time-use component
- During head gasket replacement: The cylinder head is already off or lifted — this is the ideal time to replace all injector seals
- When replacing one failed injector: Consider doing the seal kits on all injectors in that bank. If one set of seals failed from heat/age, the others are likely close behind
- Every 250,000-300,000 miles: As preventive maintenance on high-mileage engines, especially those operating in severe conditions (mining, marine, constant heavy towing)
- At any sign of external weeping: Don’t wait. A $30 seal kit is the cheapest repair you’ll ever do compared to the alternatives
Product Recommendations
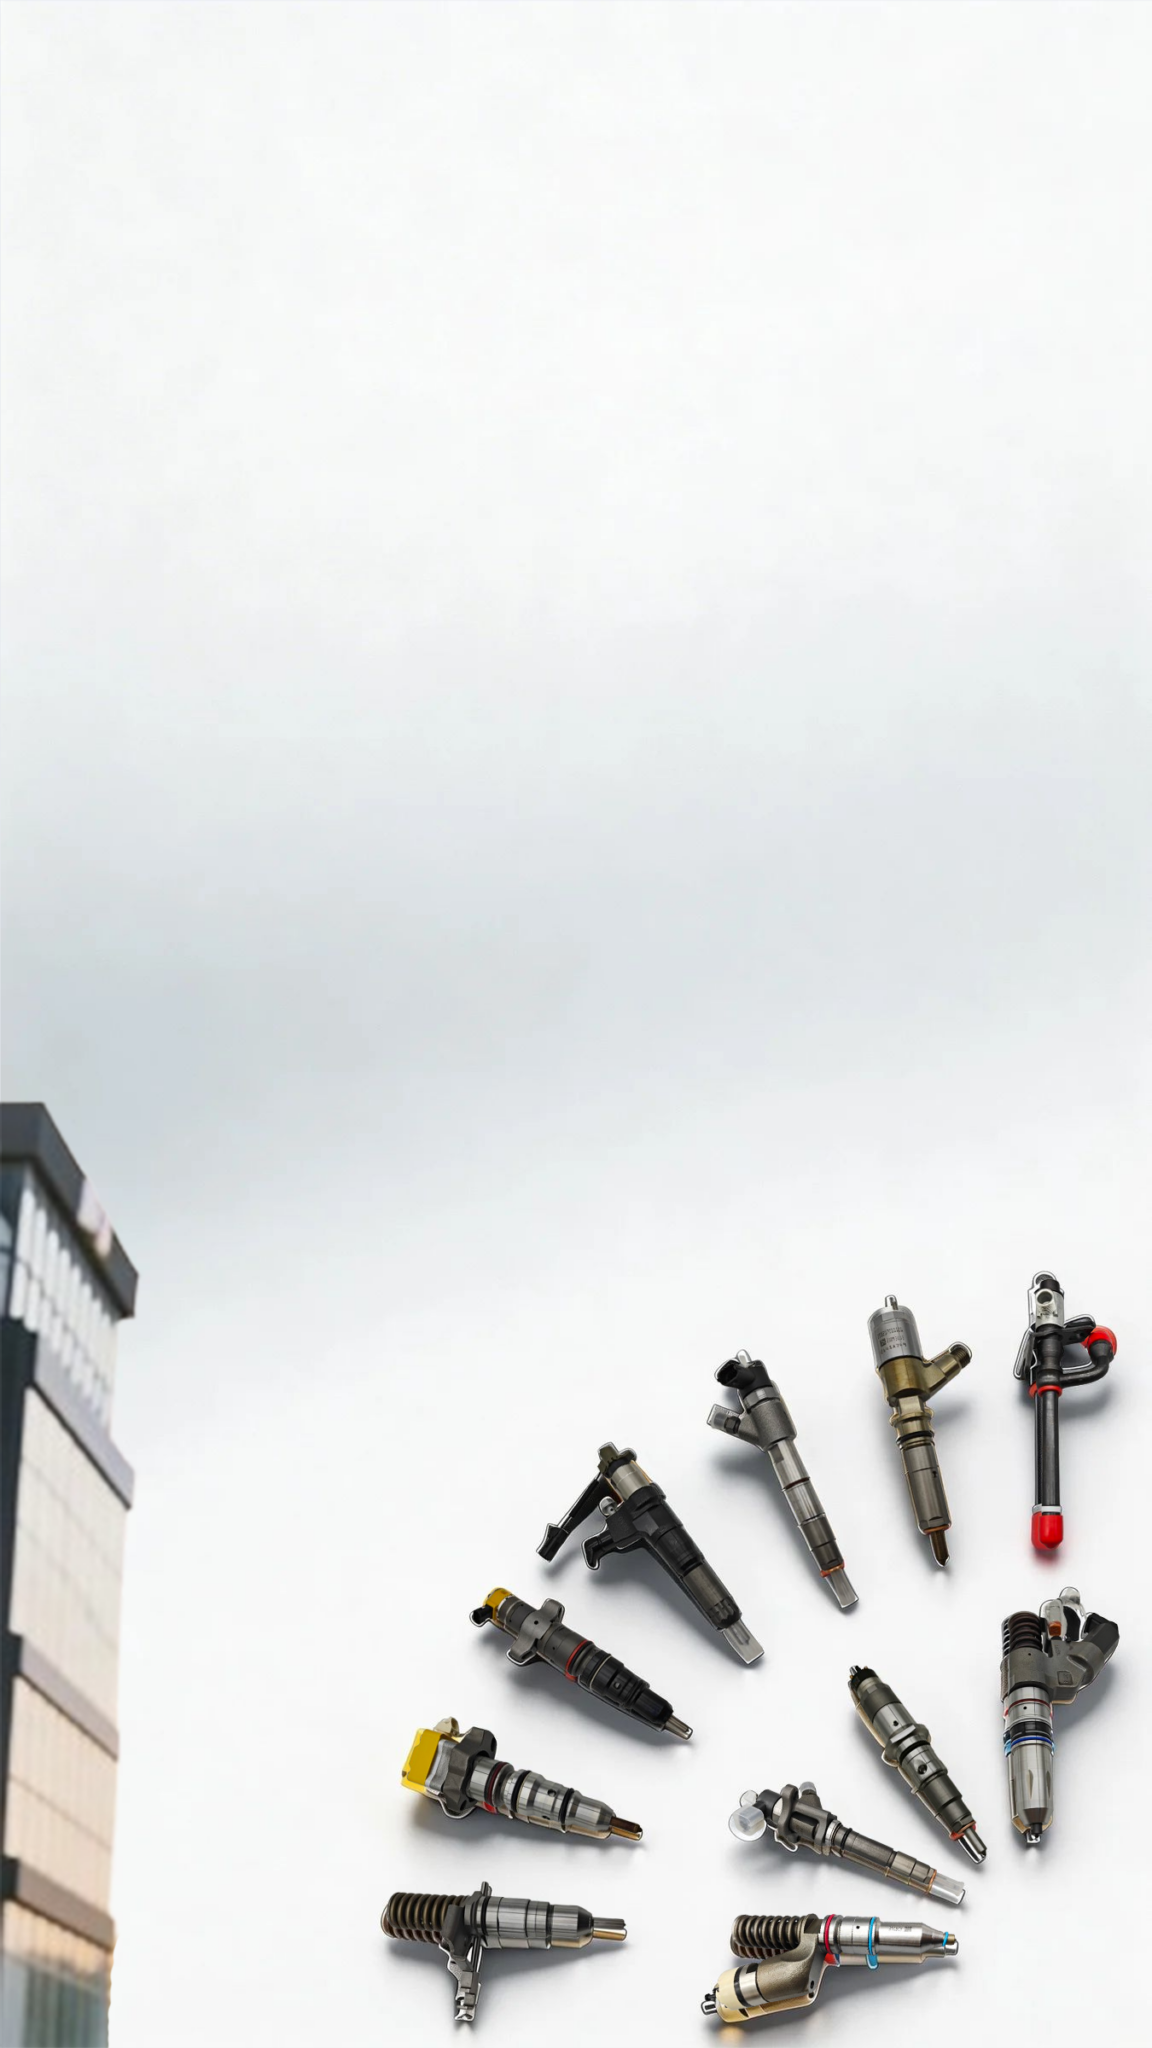
At JS Parts Online, our diesel injectors ship with premium OEM-quality seal kits pre-installed and tested. Browse our catalog for your engine application:
- Caterpillar Fuel Injectors — Complete with new seals, ready for installation
- Bosch Common Rail Injectors — OEM-spec Viton seals rated for modern ULSD and biodiesel blends
- Denso Diesel Injectors — Factory-calibrated with premium seal kits
- Fuel Injection Pump Plungers — Complete your fuel system overhaul
Conclusion
Injector seals are the cheapest components in your fuel system and the most expensive to ignore. A complete seal kit costs less than a tank of diesel, but a single failed fire ring can destroy a piston, score a cylinder, and ruin a turbocharger — easily a $6,000 to $15,000 repair on a heavy-duty diesel engine.
The rule is simple: never remove an injector without installing a new seal kit. Never reuse a copper washer. Never install O-rings dry. Never skip the bore inspection. And if you see any sign of weeping, bubbling, or carbon tracking around an injector — fix it this week, not next month.




JSPartsonline:
Focus on injectors for 12 years,We sell high-quality fuel injectors at competitive prices.
Copyright 2025 © YUN·X . All right reserved.
