
How to Remove Stuck Diesel Injectors: Tools and Safe Techniques
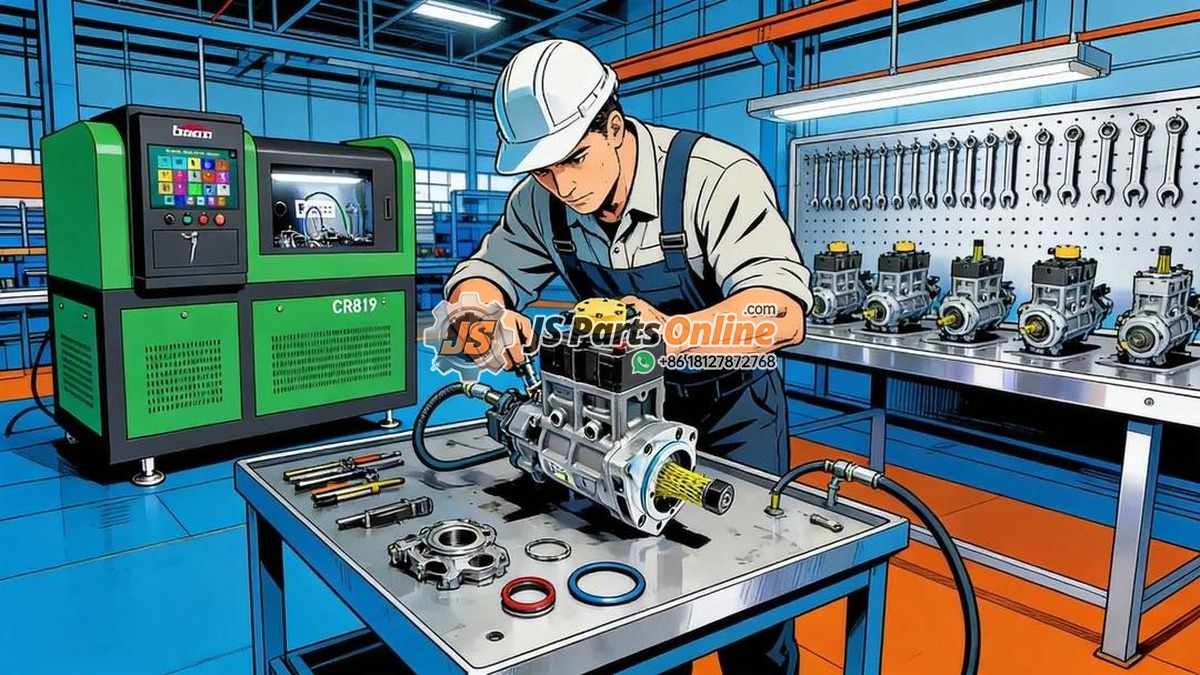
Few jobs in diesel engine repair are as frustrating, and as potentially expensive, as removing a stuck fuel injector. Carbon buildup, corrosion, and thermal cycling can lock an injector into its bore with forces exceeding several thousand pounds. One wrong move, a slipped pry bar, an overheated slide hammer, or a broken injector body left in the head, and a routine injector replacement turns into a cylinder head removal job costing thousands. This guide covers the right tools, proven techniques, and critical safety steps for removing stuck diesel injectors without damage.
1. Why Injectors Get Stuck
Understanding why injectors seize helps you choose the right removal approach. The four most common causes are:
- Carbon packing (carbon lock): Combustion byproducts pack into the tiny gap between the injector nozzle and the cylinder head bore. Over thousands of hours, this carbon bakes into a rock-hard ring that mechanically locks the injector in place. This is the most common cause across all diesel engines.
- Corrosion / galvanic reaction: Dissimilar metals (steel injector body, cast iron or aluminum head) combined with moisture create corrosion that welds the injector to the bore wall. Common in marine, coastal, and high-humidity operating environments.
- Copper washer deformation: The copper sealing washer at the injector tip compresses and deforms under combustion pressure. Over time, it can extrude into the gap between injector and head, creating a mechanical wedge.
- Thermal expansion differential: Repeated heat cycles cause the injector body and cylinder head to expand and contract at different rates. Over hundreds of thousands of miles, this micro-movement creates a friction weld at the contact surfaces.
2. Essential Removal Tools
| Tool | Best For | Pull Force | Risk Level | Approximate Cost |
|---|---|---|---|---|
| Factory slide hammer adapter | HEUI injectors with threaded top (CAT, Navistar) | 500 to 2,000 lbs impact | Low, designed for the application | 100 to 300 dollars |
| Hydraulic injector puller | Severely stuck injectors, common rail, MEUI | 5 to 10 tons static pull | Low to moderate, controlled force | 500 to 1,500 dollars |
| Mechanical bridge puller | Common rail injectors with top nut access | 2 to 5 tons threaded pull | Moderate, requires careful alignment | 200 to 600 dollars |
| Collet-style extractor | Broken injector bodies, damaged threads | Varies by collet size | High, last resort before head removal | 300 to 800 dollars per collet set |
| Injector bore brush set | Cleaning bore after removal | N/A | Low, but essential for new injector installation | 50 to 150 dollars |
Never use vice grips, pry bars, or hammers directly on the injector body. These methods almost always damage the injector, the cylinder head, or both. A quality puller tool costs a fraction of one cylinder head repair.
3. Step-by-Step Removal Procedure
- Preparation and safety: Disconnect batteries. Remove all fuel lines, electrical connectors, and hold-down hardware. Drain the fuel rail pressure on common rail systems before loosening any high-pressure lines. Tag or photograph connector routing for reassembly.
- Penetrating oil soak: Apply a high-quality penetrating oil (Kroil, PB Blaster, or 50/50 acetone-ATF mix) around the injector-to-head interface. Let it soak for at least 30 minutes, preferably overnight for severely stuck injectors. Reapply every few hours. The oil needs time to creep into the carbon layer.
- Gentle rotation attempt: Before applying any pulling force, try to rotate the injector slightly (5 to 10 degrees) in its bore. Use the factory flats on the injector body with the correct size wrench, not vice grips. If the injector rotates freely, removal will be straightforward. If it does not budge, do not force it; proceed to mechanical extraction.
- Slide hammer method (mildly stuck): Thread the factory slide hammer adapter onto the injector top threads. Ensure the adapter is fully seated against the injector shoulder. Apply steady, moderate slide hammer impacts, increasing force gradually. Listen for the sound change from a dull thud (stuck) to a sharper tone (moving). Most HEUI and MEUI injectors release within 10 to 20 firm impacts.
- Hydraulic puller method (moderately to severely stuck): Install the hydraulic puller bridge over the injector, aligning it with adjacent head bolts or dedicated puller anchor points. Thread the puller adapter onto the injector. Apply hydraulic pressure slowly and steadily, watching the pressure gauge and the injector simultaneously. A sudden pressure drop means the injector has broken free. Maximum safe pull is typically 8 to 10 tons; exceeding this risks pulling cylinder head threads or cracking the injector body.
- Engine-running method (last resort for experienced technicians only): On some engines, loosening the injector hold-down and briefly starting the engine uses combustion pressure to pop the injector free. This is hazardous, must wear full PPE including face shield, and the injector must be restrained so it does not become a projectile. This method should only be attempted by experienced diesel technicians.
4. Injector-Specific Removal Challenges
| Injector Type | Common Challenge | Recommended Approach | Critical Caution |
|---|---|---|---|
| HEUI (CAT 3406E, C7-C15) | Carbon packing around nozzle tip; oil residue in bore | Factory slide hammer adapter; penetrating oil overnight soak | Do not use the solenoid top as a pull point; thread into the injector body only |
| MEUI / EUI (CAT ACERT, Detroit DD) | Injector sits deep in head; access limited by rocker arm assembly | Remove rocker arm assembly first; use dedicated bridge puller | Mark rocker arm positions before removal; incorrect reassembly destroys camshaft |
| Cummins ISX Common Rail | Copper washer deformation wedges injector; high-pressure connector corrosion | Hydraulic puller preferred; penetrating oil on high-pressure connector threads | High-pressure connectors are single-use on some models; order replacements |
| Detroit DD13/DD15 Common Rail | Injector hold-down bolt torque-to-yield; bolt failure during removal | Always replace hold-down bolts; use Detroit-specified puller adapter | Broken hold-down bolt in head requires precision drilling; avoid at all costs |
| Cummins N14 / CAT 3406B Mechanical | Decades of carbon accumulation; injector cup may pull out with injector | Rotate before pulling; hydraulic puller with steady force | If cup comes out with injector, the head may need cup bore machining |
5. What to Do When the Injector Breaks
Sometimes, despite all precautions, an injector body fractures during removal. This is a serious situation but not automatically a head-removal scenario. Here is the recovery procedure:
- Stop immediately. Do not continue applying force to the broken piece. You will wedge fragments deeper into the bore.
- Assess the break: Determine where the injector separated. A break above the hold-down flange leaves a stub that standard tools can still grip. A break at the nozzle tip inside the bore is the worst case.
- Above-flange break: Use a collet-style extractor matched to the remaining body diameter. Apply penetrating oil and attempt rotation first, then extraction.
- Mid-body or nozzle-tip break: This usually requires removing the cylinder head for access from the combustion chamber side. The broken piece must be driven upward through the bore using a properly sized drift from below.
- Prevention: This is why experienced technicians never exceed the maximum pull force specification for a given injector type. If an injector will not release at 8 to 10 tons, the cylinder head must come off anyway. Breaking the injector just adds shrapnel to the equation.
6. Injector Bore Cleaning and Preparation
After successful removal, the injector bore must be thoroughly cleaned before installing a new injector. Any debris left in the bore will cause the new injector to seat improperly, leading to combustion gas leakage, carbon packing, and premature failure.
| Step | Tool | Technique | Verification |
|---|---|---|---|
| 1. Remove old copper washer | Copper washer puller or pick tool | Extract old sealing washer from bore bottom; do not scratch the sealing surface | Visual confirmation washer is out; use borescope if uncertain |
| 2. Clean carbon from bore walls | Injector bore brush (correct diameter) | Rotate brush in bore with light pressure; do not use a drill, hand-turn only | Bore walls should show clean metal; no carbon rings visible |
| 3. Clean sealing surface | Bore seat cutter or lapping tool | Lightly dress the copper washer sealing surface at bore bottom | Smooth, uninterrupted sealing ring; no pitting or erosion |
| 4. Vacuum debris | Shop vacuum with small nozzle adapter | Vacuum bore thoroughly; debris falling into cylinder requires head removal | Borescope inspection confirms clean bore and clean piston crown |
| 5. Apply anti-seize (optional) | High-temperature nickel anti-seize compound | Thin coat on injector body above the sealing area only; never on nozzle tip | Even, thin coating; excess anti-seize can contaminate fuel system |
7. Preventing Future Stuck Injectors
| Strategy | When to Apply | Effectiveness | Notes |
|---|---|---|---|
| High-temperature nickel anti-seize on injector body | During every injector installation | High, significantly reduces carbon adhesion | Apply sparingly above the sealing area only; never on the nozzle or tip |
| Ceramic-based assembly lubricant | During every injector installation | Very high, withstands extreme temperatures | More expensive but longer-lasting than nickel anti-seize |
| Annual injector rotation | During scheduled major service | Moderate, breaks early carbon bonds | Practical for fleet operators with regular maintenance schedules |
| Fuel quality management | Ongoing, fuel filtration and water separation | Indirect but important, reduces carbon formation | Cleaner combustion produces less carbon to pack around injectors |
| Correct injector torque | During every injector installation | Critical, prevents gas leakage and carbon packing | Always use a calibrated torque wrench; follow OEM torque spec exactly |
8. When to Call a Professional
Some injector removal situations exceed the scope of even well-equipped DIY or independent shops. Call in a specialist if:
- The injector has been soaking in penetrating oil for 48 hours and has not moved with 8 tons of hydraulic pull force
- The injector body has fractured, and the broken piece is below the hold-down flange
- The cylinder head material around the injector bore shows cracking or deformation
- You do not have access to the correct puller adapter for your specific engine model
- The engine has aluminum cylinder heads, where thread pull-out risk is significantly higher than cast iron
The cost of a professional mobile diesel technician is almost always less than the cost of repairing a damaged cylinder head caused by improper injector removal.
Conclusion
Removing stuck diesel injectors is a test of patience, proper tooling, and technique. The difference between a 30-minute injector swap and a multi-thousand-dollar cylinder head repair often comes down to three things: using the correct puller for your injector type, giving penetrating oil adequate time to work, and knowing when to stop pulling and seek professional help. Invest in quality removal tools, follow the procedures outlined here, and you will keep your engine, and your budget, intact.
For quality replacement diesel injectors, removal tools, and installation hardware for Caterpillar, Cummins, Detroit Diesel, and Volvo applications, visit our diesel injector catalog. If you need technical support for a particularly stubborn injector removal, reach out to our team for guidance.





JSPartsonline:
Focus on injectors for 12 years,We sell high-quality fuel injectors at competitive prices.
Copyright 2025 © YUN·X . All right reserved.
