
Fuel Injector Post-Installation Verification: The 5-Step Guide to a Perfect Repair
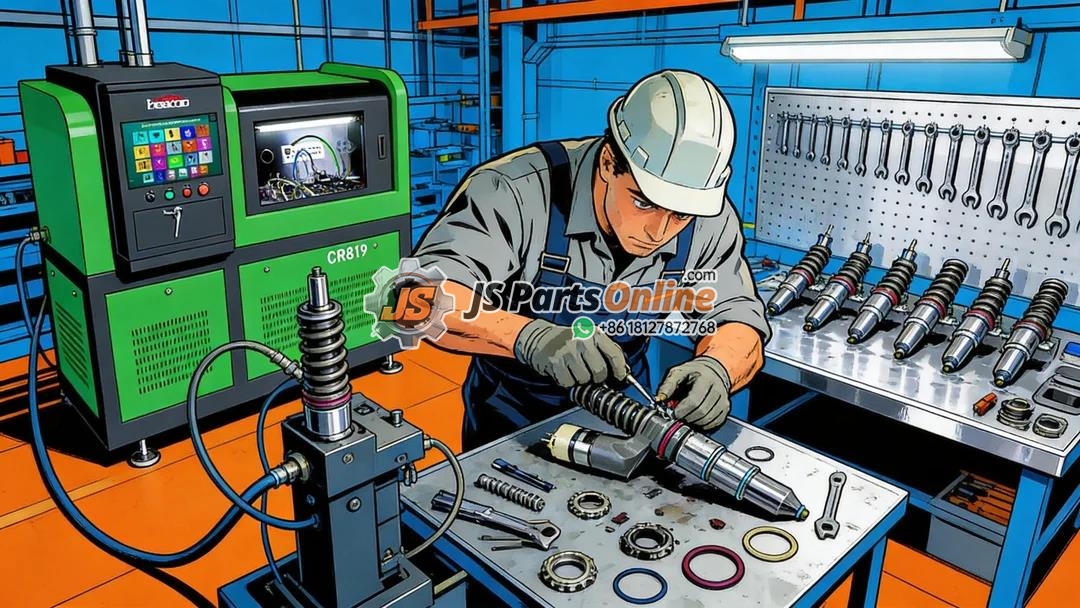
Replacing fuel injectors is a precision task, but the job isn’t finished when the last bolt is torqued. The most critical phase—post-installation verification—is what separates a professional, lasting repair from a costly “comeback.” This is the systematic process of proving that every aspect of the new installation is correct before returning the vehicle to service. It’s the final quality gate that catches installation errors, verifies electronic integration, and ensures optimal performance. This guide provides the definitive, step-by-step verification protocol. We’ll cover the essential physical checks, the mandatory electronic coding confirmation, the critical leak and pressure tests, and the data-driven performance validation. By following this disciplined procedure, you can sign off on every injector replacement with confidence, knowing you’ve delivered a repair that will perform reliably for tens of thousands of miles.
Why Verification is Non-Negotiable: Closing the Loop on the Repair
Skipping verification is gambling with the repair. The consequences of an undetected error are severe:
- External Fuel Leaks: A fire hazard and environmental violation.
- Internal Leaks (from poor seating): Causes hard starting, fuel dilution, and oil contamination.
- Incorrect Coding: Leads to rough running, excessive smoke, poor performance, and potential DPF damage.
- Electrical Faults: Causes immediate misfires and drivability issues.
- Air in System: Results in extended cranking, hesitation, and poor idle.
Verification is the final, critical step that validates the work done in our professional installation guide and ensures the coding and calibration were successful.
The 5-Step Post-Installation Verification Protocol
Follow these steps in order. Do not start the engine until Step 3 is complete.
Step 1: The Pre-Start Physical & Electrical Inspection
Before applying any power, conduct a meticulous visual and tactile inspection.
- Torque Verification:
- Double-check that all fuel line fittings, injector hold-down bolts/clamps, and rail mounting points are torqued to specification. Do not guess.
- External Leak Check (Dry):
- Visually inspect every connection point for signs of crossed threads, damaged sealing surfaces, or improperly seated O-rings/seals. Ensure all sealing washers are new and correctly oriented, as emphasized in our guide on avoiding installation mistakes.
- Electrical Connection Integrity:
- Ensure each injector connector is fully seated and that any locking tabs are engaged.
- Verify the wiring harness is routed safely, away from hot or sharp surfaces, and is securely fastened.
Step 2: Fuel System Priming, Pressurization & Initial Leak Check
Now, prepare the system for wet testing.
- Prime the System: Turn the ignition to “ON” (do not crank) for 3-5 seconds, multiple times. This allows the fuel pump to pressurize the rail and fill the new injectors and lines. Listen for the pump to run and stop normally.
- The “Key-On, Engine-Off” Pressure and Leak Check:
- After priming, leave the ignition on. The system will be at or near operating pressure.
- Carefully and thoroughly inspect ALL fuel connections under pressure: the high-pressure pump inlet and outlet, fuel rail, injector supply lines, and each injector’s top and base seals.
- Use a mirror and flashlight to check the back sides of components. Look for ANY sign of weeping or dripping fuel. A single drop is a failure. Depressurize the system and repair the leak before proceeding.
Step 3: Electronic Coding Verification & System Readiness
This step is critical for all modern common-rail and GDI systems.
- Connect Your Professional Scan Tool. Access the fuel injection or coding module.
- Verify Injector Coding Values:
- Navigate to the injector coding/adjustment screen. The ECU should display the calibration codes it has stored for each cylinder.
- Physically compare the codes displayed on the scan tool to the codes laser-etched on the new injectors. They must match exactly. A mismatch means the coding procedure failed or was Re-code as necessary.
- Check for and Clear Relevant Fault Codes: Clear any legacy codes from the old injectors or the installation process. After clearing, check that no new, persistent codes related to injector circuits or fuel pressure immediately return.
Step 4: Initial Start-Up, Run-Up, and Dynamic Leak Check
If Steps 1-3 are clear, you may proceed to start the engine.
- Initial Crank and Start: Crank the engine. It should start within a reasonable time (slightly longer than normal is okay as the system fully primes). Observe exhaust smoke—a brief puff of white smoke is normal, but persistent thick smoke indicates a problem.
- Idle Stabilization and Audible/Visual Check:
- Let the engine idle. Listen for smooth operation. Use a mechanic’s stethoscope to verify each injector is clicking consistently (methods from our sound diagnosis guide).
- Re-check for leaks with the engine running and hot. The heat and vibration can reveal leaks that a static test missed. Pay special attention to the injector base seals.
- Basic Data Stream Verification (at Idle):
- With your scan tool, monitor:
- Fuel Rail Pressure: Should be stable and match the specified idle pressure.
- Long-Term Fuel Trims (Gasoline): Should settle within a reasonable range (±10%). Large negative trims could indicate a leaking injector; large positive trims could indicate a clogged one or a vacuum leak.
- Engine Speed: Should be stable, without hunting or dipping.
- With your scan tool, monitor:
Step 5: Performance Validation & Road Test
The final validation occurs under load.
- Cylinder Balance Test (If Supported):
- Perform a dynamic cylinder cut-out or contribution test using your scan tool. All cylinders should show relatively even contribution. A weak cylinder contribution points to a problem with that specific injector, a compression issue, or another fault.
- The Diagnostic Road Test:
- Take the vehicle for a controlled test drive. Monitor for:
- Smooth Power Delivery: No hesitation or flat spots during acceleration.
- Clean Exhaust: Smoke should clear quickly and not return under normal acceleration.
- Stable Idle after driving: The engine should return to a smooth, steady idle when stopped.
- Take the vehicle for a controlled test drive. Monitor for:
- Final Post-Test Inspection:
- After the road test, with the engine hot, perform one final visual inspection for leaks.
- Re-check the data stream for any pending fault codes that may have set during drive cycles.
The Verification Checklist: Your Sign-Off Sheet
- [ Step 1 ] : All mechanical fasteners torqued. Electrical connections secure. No visual damage.
- [ Step 2 ]: System primed. Zero fuel leaks under static pressure.
- [ Step 3 ]: Injector calibration codes verified in ECU against physical injectors. No relevant fault codes present.
- [ Step 4 ]: Engine starts readily. Idles smoothly. Zero fuel leaks with engine hot. Rail pressure and fuel trims are within spec at idle.
- [ Step 5 ]: Cylinder balance test passes. Road test confirms smooth power, clean exhaust, stable hot idle. No new fault codes.
Conclusion: Verification is the Mark of a Professional
A fuel injector replacement is only as good as the verification that follows it. This 5-step protocol transforms a potentially risky procedure into a controlled, repeatable, and demonstrably correct repair. It protects your customer’s engine, your reputation, and your profitability by eliminating comebacks. By investing the extra 20-30 minutes in rigorous post-installation verification, you elevate your service from simple part swapping to true precision engineering. In the world of modern fuel systems, certainty is the most valuable tool in your box, and this guide provides the map to achieve it every single time.
Finish the Job with Confidence. Start with Quality Parts.
A flawless verification begins with components you can trust. JSPartsonline supplies OEM-specification fuel injectors, complete with the correct calibration codes and all necessary seals, providing the reliable foundation for a perfect repair that passes every step of this verification protocol.
Verify for perfection. Source your next set of fuel injectors and installation kits from our catalogor contact our technical support teamfor pre- and post-installation guidance on your specific application.


JSPartsonline:
Focus on injectors for 12 years,We sell high-quality fuel injectors at competitive prices.
Copyright 2025 © YUN·X . All right reserved.
