
Diesel Injector Solenoid Valve: Testing, Failure Signs & Replacement Guide
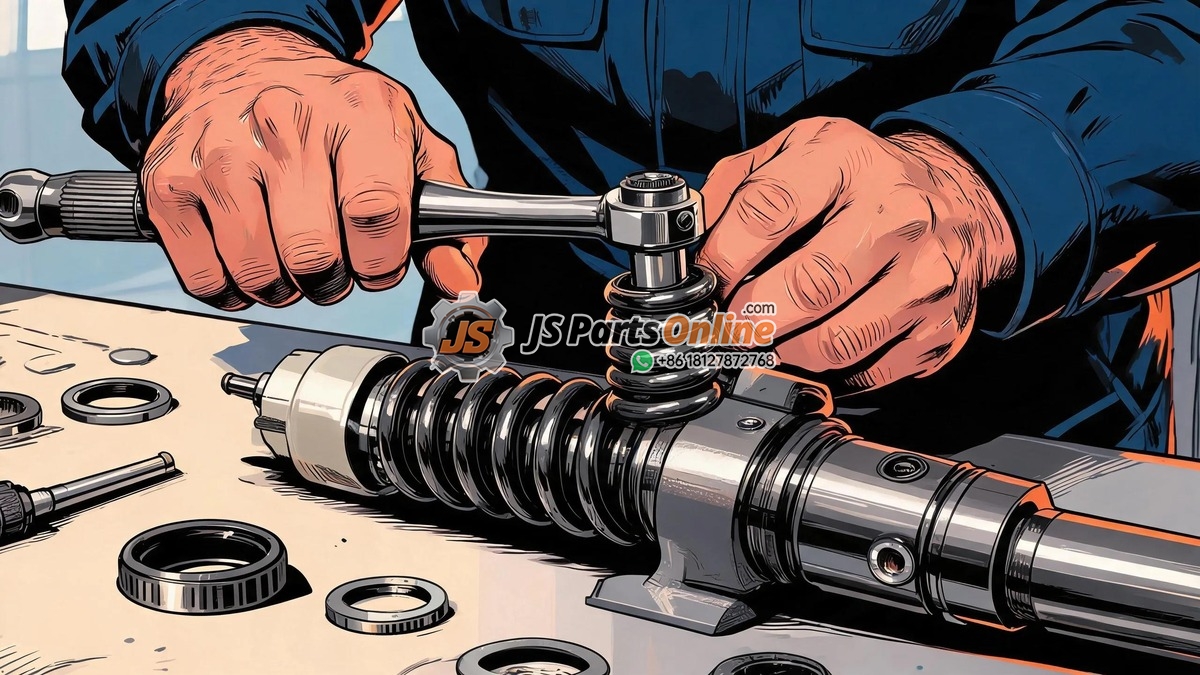
The solenoid valve is the brain of every modern common rail diesel injector. It receives millisecond-precision electrical pulses from the ECU and translates them into precise fuel delivery. When this component fails, your entire injection strategy collapses—leading to misfires, power loss, and potential engine damage.
In this guide, we’ll walk through everything you need to know about Bosch common rail injector solenoid valves: how to recognize failure symptoms, perform electrical testing with basic tools, and safely replace a faulty solenoid on Denso, Delphi, and Caterpillar systems.
How a Diesel Injector Solenoid Valve Works
The solenoid valve inside a common rail injector is an electromagnetic actuator. When the ECU sends a current pulse, the solenoid creates a magnetic field that lifts a control plunger. This action opens the nozzle needle, allowing high-pressure fuel (up to 2,500 bar in modern systems) to spray into the combustion chamber.
The entire cycle happens in microseconds. A typical injector solenoid fires 5-8 times per combustion event (pilot, main, and post-injection phases), meaning millions of actuations per hour of engine operation. This extreme duty cycle makes solenoid valves one of the most stress-prone components in the fuel system.
| Manufacturer | Typical Resistance (Ω) | Inductance (mH) | Operating Voltage | Common Failure Mode |
|---|---|---|---|---|
| Bosch (CRIN1/2/3) | 0.2 – 0.5 Ω | 0.05 – 0.15 | 48 – 80V boost | Short circuit / coil burn |
| Denso (HP3/HP4) | 0.3 – 0.8 Ω | 0.08 – 0.20 | 48 – 100V | Open circuit / connector corrosion |
| Delphi (Multec DCR) | 0.4 – 1.0 Ω | 0.06 – 0.18 | 50 – 90V | Intermittent coil break |
| Siemens/VDO (Piezo) | N/A (piezo stack) | N/A (capacitive) | 100 – 200V | Piezo element crack |
| Caterpillar (HEUI) | 0.5 – 1.5 Ω | 0.10 – 0.30 | 12 – 48V | Coil degradation from heat |
5 Warning Signs Your Solenoid Valve Is Failing
Early detection can save you from a complete injector failure—and a much larger repair bill. Watch for these five symptoms:
- Engine misfire at specific RPM ranges—A failing solenoid often misfires inconsistently, not steadily. You might notice rough running between 1,500 and 2,200 RPM that smooths out at idle or full load.
- Check Engine Light with P0200-series codes—Codes P0201 through P0208 indicate injector circuit faults on specific cylinders. P0261/P0264/P0267/P0270 point to cylinder-specific electrical issues directly related to solenoid function.
- Increased fuel consumption without visible smoke—A solenoid that is slow to close causes unmetered fuel delivery. You’ll see 10-25% higher fuel consumption before any black smoke appears.
- Hot restart difficulty—When the engine is hot, solenoid resistance increases due to thermal expansion. A borderline solenoid works cold but fails hot. If your engine starts perfectly cold but struggles when warm, suspect the solenoid.
- Audible clicking or buzzing from the injector area—A healthy solenoid operates silently. Any metallic clicking or electrical buzzing during engine operation indicates internal arcing or mechanical binding.
Step-by-Step Solenoid Resistance Testing
Before replacing any component, confirm the fault with a multimeter. This test takes 10 minutes and requires only basic tools.
Tools Required
- Digital multimeter with milliohm (mΩ) resolution
- Injector connector removal tool (varies by engine)
- Contact cleaner spray
- Notebook to record readings
Testing Procedure
Step 1: Safety First. Engine off, key removed. Allow engine to cool for at least 30 minutes. Hot solenoids give misleading resistance readings.
Step 2: Access the injector connectors. Remove the engine cover. On inline-six engines (Cummins ISX, CAT C15, Detroit DD15), connectors are on top of the valve cover. On V-engines, you may need to remove intake piping.
Step 3: Disconnect and inspect. Carefully disconnect each injector electrical connector. Look for: green corrosion (moisture ingress), melted plastic (overheating), or bent pins (mechanical damage). Spray contact cleaner if dirty.
Step 4: Set multimeter to resistance (Ω) mode. Use the lowest range—ideally 200Ω or auto-ranging that can resolve 0.1Ω. Zero the leads by touching probes together and noting the offset (subtract from readings).
Step 5: Measure across solenoid terminals. Place one probe on each terminal of the injector-side connector (not the harness). Hold steady for 3 seconds until the reading stabilizes. Record each cylinder’s value.
Step 6: Compare readings. All injectors on the same engine should be within 10% of each other. A lone outlier is a failing solenoid. If all read open (OL/infinity), check your meter connections. If all read near zero, check for a short.
| Reading | Diagnosis | Action |
|---|---|---|
| Within spec (see manufacturer table above) | Healthy solenoid | No action needed |
| 0 – 0.1 Ω (dead short) | Internal coil short circuit | Replace solenoid or entire injector |
| OL / infinite (open circuit) | Broken coil wire or connector fault | Check connector first; replace solenoid if internal |
| 20 – 50% above spec | Partial coil degradation | Monitor closely; will worsen; plan replacement |
| Fluctuating reading | Intermittent internal connection | Replace immediately; can cause ECU driver damage |
Advanced Diagnostics: Insulation Testing
Resistance testing catches hard failures, but a solenoid with partially degraded winding insulation may pass a resistance test yet fail under operating voltage. Use a megohmmeter (insulation tester) at 500V to check:
- Terminal-to-body resistance should be >10 MΩ
- Terminal-to-terminal insulation at 500V should hold steady
- Any drop below 1 MΩ indicates moisture ingress or winding damage
Solenoid Replacement: OEM-Specific Procedures
Bosch CRIN Solenoid Replacement
Bosch CRIN1/CRIN2/CRIN3 injectors have a replaceable solenoid assembly held by a retaining nut. The procedure requires cleanliness beyond normal workshop standards:
- Secure the injector in a soft-jaw vice, nozzle facing down
- Remove the solenoid retaining nut with the correct Bosch socket
- Lift off the old solenoid assembly—note the position of any shims
- Clean the mating surface with lint-free cloth and isopropyl alcohol
- Install the new solenoid, reusing original shims unless damaged
- Torque the retaining nut to Bosch specification (typically 35-45 Nm)
- Perform a solenoid pull-in test on a test bench to verify response time
Denso Solenoid Valve Replacement
Denso HP3 and HP4 injectors from our Denso catalog use a two-piece solenoid design. The valve body separates from the coil assembly. Key steps:
- Remove the top cap and disconnect the internal wiring harness
- Unscrew the valve body using the Denso-specific spline tool
- Inspect the valve seat for wear—pitting here means the entire injector may need replacement, not just the solenoid
- Replace both valve body and coil together (sold as a matched set)
- Torque the valve body to 25-30 Nm
- Reset the IMA/IMA2 code if working on ISUZU or HINO applications
Delphi Multec DCR Solenoid Service
Delphi Multec DCR injectors have a solenoid integrated into the upper body. Replacement requires special attention to the calibration shim stack:
- Mark the injector orientation before disassembly
- Remove the solenoid cap screws (T20 Torx)
- Carefully lift the solenoid, keeping all shims in order
- Install new solenoid with shims in the exact same sequence
- Torque cap screws to 8-10 Nm
- Verify injector flow matching after solenoid replacement
| Injector Type | Fastener | Torque (Nm) | Thread Locker Required |
|---|---|---|---|
| Bosch CRIN1/2 | Solenoid retaining nut | 35 – 45 | No |
| Bosch CRIN3 | Solenoid retaining nut | 50 – 60 | No |
| Denso HP3/HP4 | Valve body | 25 – 30 | No |
| Delphi Multec DCR | Cap screws (T20) | 8 – 10 | Loctite 243 |
| Caterpillar C7/C9 HEUI | Solenoid bolts | 5 – 7 | No |
| Caterpillar C13/C15 HEUI | Solenoid bolts | 8 – 12 | No |
Cost Comparison: Solenoid vs. Complete Injector Replacement
Many workshops default to full injector replacement when a solenoid fails. But on many systems—especially Bosch and Denso—the solenoid is a serviceable component. Here is what you can expect to pay:
| Option | Parts Cost (USD) | Labor (Hours) | Total Estimate | Warranty |
|---|---|---|---|---|
| Bosch solenoid only | $80 – $180 | 1.0 – 1.5 | $200 – $350 | 12 months |
| Bosch full injector (new) | $350 – $650 | 0.5 – 1.0 | $400 – $750 | 24 months |
| Bosch reman injector | $180 – $300 | 0.5 – 1.0 | $230 – $400 | 12 months |
| Denso solenoid only | $100 – $220 | 1.0 – 2.0 | $250 – $450 | 12 months |
| Denso complete injector | $400 – $800 | 0.5 – 1.0 | $450 – $900 | 24 months |
When to replace only the solenoid: The injector body and nozzle are known good (under 200,000 km), return flow is within spec, and the spray pattern is acceptable. Solenoid-only replacement saves 40-60% versus complete injector replacement.
When to replace the entire injector: The injector has over 300,000 km, return flow exceeds 10% over spec, or the nozzle shows visible wear. Combining a new solenoid with a worn mechanical assembly is false economy.
Preventing Premature Solenoid Failure
| Factor | Impact on Lifespan | Preventive Measure |
|---|---|---|
| Fuel quality (water content) | Corrosion of windings; -50% lifespan | Use 2-micron secondary filtration; drain water separator weekly |
| Excessive injector tightening torque | Body distortion; solenoid misalignment | Always use a calibrated torque wrench; follow OEM specs |
| ECU driver voltage spikes | Insulation breakdown; coil arcing | Check alternator for AC ripple; verify ECU ground connections |
| Engine overheating events | Thermal degradation of coil insulation | Repair cooling system issues promptly; never exceed 105°C coolant temp |
| Vibration from worn engine mounts | Wire fatigue and connector fretting | Replace engine mounts every 5 years; check harness routing |
FAQ: Diesel Injector Solenoid Valves
Can I drive with a faulty injector solenoid?
Short distances (under 50 km) at low load may be possible, but it is not recommended. A failed solenoid means that cylinder is getting either no fuel or uncontrolled fuel. Both scenarios cause damage: no fuel causes cylinder wash-down risk from unburned diesel washing the oil film; uncontrolled fuel causes piston crown overheating.
Will a solenoid failure damage the ECU?
Yes—this is an underappreciated risk. A short-circuit solenoid can draw excessive current through the ECU injector driver circuit. Modern ECUs have overcurrent protection, but repeated shorts can degrade the driver MOSFET. If you’ve had a solenoid short, budget for ECU inspection.
Do I need to recode the injector after solenoid replacement?
On Bosch systems with CRIN codes: usually yes, because the solenoid characteristics affect the injector’s IMA (Injector Menge Abgleich) calibration. On Denso systems: the QR code encodes the complete injector calibration, so solenoid replacement requires a new QR code input. On Delphi: recalibration is mandatory after any solenoid disassembly.
Ready to source replacement solenoids or complete injectors? Browse our Bosch injector catalog, Denso injector selection, or Caterpillar injector range for OEM-quality parts at competitive prices.






JSPartsonline:
Focus on injectors for 12 years,We sell high-quality fuel injectors at competitive prices.
Copyright 2025 © YUN·X . All right reserved.
