
Diesel Injector O-Ring Failure: Symptoms, Causes & Step-by-Step Replacement
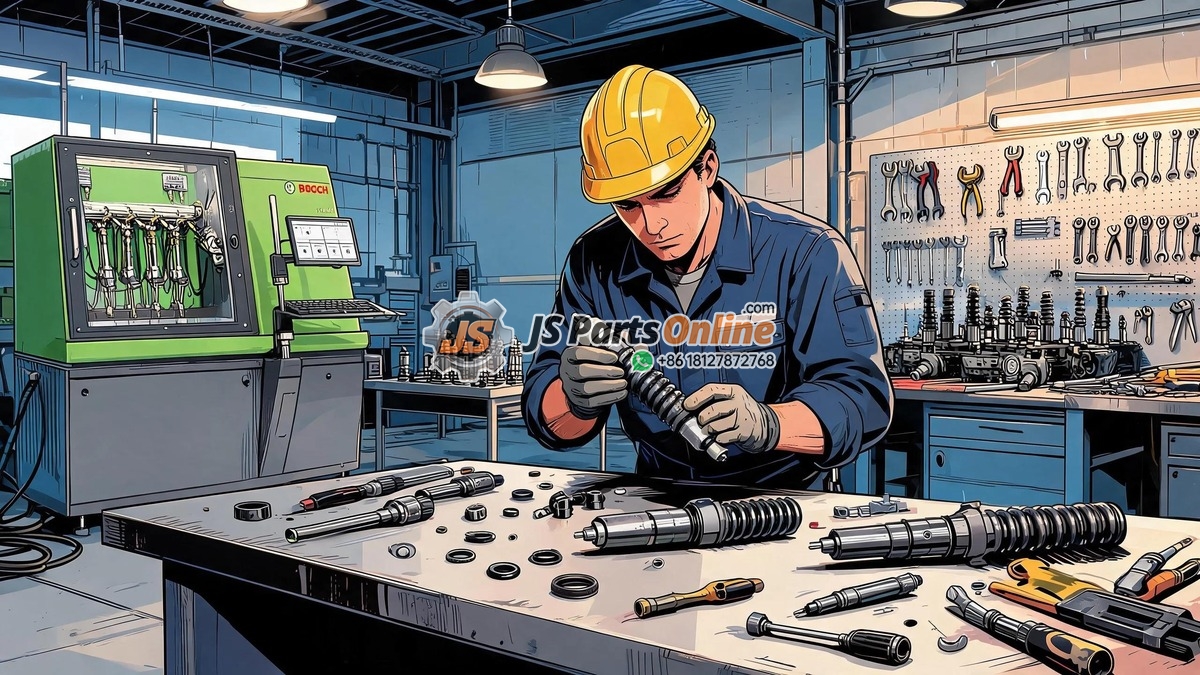
A set of O-rings and sealing washers costs under $20. But when these small components fail, the damage can run into thousands of dollars—scored injector bores, combustion gas erosion, fuel dilution of engine oil, and in severe cases, a hydro-locked engine. Injector seals are the cheapest component in the fuel system and the most expensive to ignore.
This guide covers everything you need to know about diesel injector sealing: how to spot a failing seal before catastrophic damage occurs, step-by-step replacement procedures for every major injector type, and best practices for installation that ensure your new seals last their full service life.
The Three Seals on a Diesel Injector
Most modern diesel injectors use a three-seal system to isolate combustion gases, fuel, and engine oil from each other. Each seal has a distinct function and failure mode:
| Seal Type | Location | Function | Material | Typical Failure Consequence |
|---|---|---|---|---|
| Copper sealing washer (crush washer) | Nozzle tip base, at cylinder head seat | Seals combustion chamber gases; conducts heat from nozzle to cylinder head | Annealed copper (sometimes copper-clad steel) | Combustion gas leak; "chuffing" sound; carbon buildup ("black death") |
| O-ring (upper) | Injector body, upper groove near solenoid/return area | Seals fuel return/drain passage from valve cover area | Viton (FKM) or HNBR | Fuel in engine oil; diesel smell in cab; rising oil level |
| O-ring (lower/middle) | Injector body, middle groove inside injector bore | Seals engine oil from entering combustion area; isolates oil from fuel | Viton (FKM) or HNBR | Oil consumption; oil in fuel system; carbon tracking on injector body |
Common rail injectors may have additional seals for the high-pressure inlet connector and return line banjo bolt. HEUI injectors (Caterpillar C7, C9, C13, C15) add a high-pressure oil seal that is critical for proper intensifier piston operation.
6 Warning Signs of Injector Seal Failure
- "Chuffing" or puffing sound from the injector area. A rhythmic puff-puff-puff at idle, synchronized with engine RPM, indicates combustion gas escaping past a failed copper sealing washer. Hold a piece of paper near each injector; a leaking seal will visibly flutter the paper.
- Black tar-like deposits around the injector base ("Black Death"). Combustion gases leaking past the copper washer carry soot and partially burned fuel. This bakes into a hard, tar-like deposit around the injector body. On some engines (notably Mercedes CDI and Ford Powerstroke), this deposit can completely entomb the injector, making removal extremely difficult.
- Diesel fuel smell in the engine oil. A failed upper O-ring allows fuel to leak past the injector body into the valve cover area, mixing with engine oil. Check for a rising oil level on the dipstick and a strong diesel odor from the oil fill cap. Fuel dilution above 5% requires immediate oil change and seal replacement.
- White or blue smoke from the exhaust at idle. A failed lower O-ring allows engine oil to enter the combustion chamber through the injector bore. The smoke may be intermittent and is often mistaken for turbocharger seal failure or worn valve guides. Perform a leak-down test to isolate the source.
- Hard starting after the engine sits overnight. Fuel leaking past a failed O-ring drains the rail pressure while the engine is off. The HP pump must refill and pressurize the rail before the engine starts, resulting in extended cranking times (5-10 seconds). This can also be caused by a leaking common rail injector return path.
- Bubbles in the fuel return line (visible with clear hose). Install a section of clear hose temporarily in the return line. Bubbles indicate combustion gas is pressurizing the fuel return circuit through a failed copper seal—this is a definitive diagnosis of seal failure.
Step-by-Step: Injector Seal Replacement
Tools and Materials Required
- Injector seal kit (O-rings + copper washer)—OEM or equivalent quality; never use generic O-rings
- Injector bore cleaning brush set (nylon and brass bristles, various sizes)
- Injector seat cutting tool (if the copper sealing surface in the cylinder head is damaged)
- Torque wrench (1/4" drive for hold-down bolts; 3/8" drive for high-pressure lines)
- Assembly lubricant (clean diesel fuel or specialized injector assembly grease)
- Plastic picks (never metal—they scratch the O-ring grooves)
- Lint-free cloths and brake cleaner
- Borescope (optional, to inspect the copper seal surface in the head)
Procedure
Step 1: Remove the injector. Follow the specific removal procedure for your engine. For stuck injectors ("black death"), you may need an injector puller tool, penetrating oil, and patience. Never pry against the injector solenoid or electrical connector. For detailed removal instruction on seized injectors, see our injector removal guide. Clean the area thoroughly before disconnecting any fuel lines to prevent contamination.
Step 2: Clean the injector body. With the injector removed, carefully remove the old O-rings using a plastic pick. Never use a metal scraper, screwdriver, or knife—even a tiny scratch in the O-ring groove will create a permanent leak path. Clean all O-ring grooves with a lint-free cloth and brake cleaner. Inspect each groove under bright light for damage.
Step 3: Remove the old copper washer. The copper sealing washer at the nozzle tip may be stuck. Use a plastic pick to lift one edge, then peel it off. If it is carbon-bonded, apply penetrating oil and wait 10 minutes. Do not use heat, which can damage the nozzle needle spring temper.
Step 4: Clean the injector bore in the cylinder head. This is the most critical step for seal longevity. Use a nylon bore brush first to remove loose carbon deposits. Follow with a brass brush for stubborn carbon. Do not use a steel brush or drill-mounted wire wheel—they will score the bore and create permanent leak paths.
Step 5: Inspect the copper sealing surface. Look at the bottom of the injector bore where the copper washer seats. The surface must be flat, smooth, and free of carbon deposits. If you see pitting, erosion, or a ridge from the old washer, you must cut the seat with an injector seat cutter. This tool re-faces the sealing surface to factory specification. Many professional shops perform this step automatically; DIYers often skip it, leading to repeat failures.
Step 6: Install new O-rings. Lubricate each new O-ring with clean diesel fuel (not engine oil—oil causes O-ring swell on some Viton compounds). Roll each O-ring into its groove; do not stretch or twist. Ensure the O-ring is seated uniformly in the groove without any twist. O-rings have a specific orientation on some injectors; follow the kit instructions.
Step 7: Install the new copper washer. Place the new copper sealing washer on the nozzle tip. The chamfered side (if present) faces the injector body. The flat side faces the cylinder head seat. Press it on gently; it should seat with a light push. If it requires force, check that the old washer was completely removed and no carbon remains.
Step 8: Reinstall the injector. Slide the injector straight into the bore. Do not twist or wiggle excessively, which can displace the O-rings. If it does not slide in smoothly, remove and inspect; forcing it will damage the new seals.
Step 9: Torque the hold-down hardware. Follow the manufacturer’s torque specification exactly. Under-torque causes seal leakage; over-torque distorts the injector body and can cause internal binding. Use a calibrated torque wrench; do not guess.
Step 10: Reinstall fuel lines with new seals. High-pressure line fittings use their own sealing method (ball-and-cone, mushroom seal, or O-ring). Always replace these seals with the injector seals. Reusing old high-pressure seals is a leading cause of post-repair fuel leaks.
| Engine / Injector Type | Hold-Down Bolt Torque | High-Pressure Line Torque | Notes |
|---|---|---|---|
| Bosch CR (Cummins ISX, Volvo D13) | 8 – 10 Nm + 90° | 25 – 30 Nm | Always use new hold-down bolts; they are TTY |
| Bosch CR (VAG 2.0 TDI PD) | 12 Nm + 270° | 20 Nm (M14 banjo) / 30 Nm (M18) | Adjusting screw requires specific setting procedure |
| Denso HP3/HP4 | 25 – 30 Nm | 35 – 40 Nm | Lubricate threads with clean engine oil |
| Siemens/VDO Piezo | 3 – 5 Nm (hold-down claw) | 22 – 28 Nm | Do not over-torque; piezo stack is crush-sensitive |
| Caterpillar HEUI (C7/C9) | 47 – 55 Nm (hold-down bolt) | N/A (internal oil/fuel passages) | Use new O-rings on all oil and fuel transfer passages |
| Delphi Multec DCR | 10 – 14 Nm | 30 – 35 Nm | Replace all injector bore O-rings as a set |
O-Ring Material Selection: Viton vs. HNBR vs. NBR
| Material | Temperature Range | Diesel Fuel Resistance | Bio-Diesel Resistance | Cost Factor | Recommended Use |
|---|---|---|---|---|---|
| Viton (FKM) | -20°C to +200°C | Excellent | Good | $$ | All modern injectors; OEM standard since 2005 |
| HNBR (Hydrogenated Nitrile) | -40°C to +150°C | Excellent | Poor (swells with biodiesel) | $ | Older engines without biodiesel exposure |
| NBR (Nitrile / Buna-N) | -30°C to +120°C | Good | Poor | $ | Not recommended for modern diesel; legacy only |
| Silicone (VMQ) | -50°C to +200°C | Poor (swells severely) | Very poor | $$ | Never use for fuel system seals |
| Kalrez (FFKM) | -20°C to +300°C | Excellent | Excellent | $$$$ | Extreme-duty; racing; high-biodiesel (B100) |
Key takeaway: Always use the seal kit specified for your exact injector part number. Generic "universal" seal kits are a leading cause of premature seal failure. The dimensional tolerance of injector O-ring grooves is measured in microns; a generic O-ring that is 0.1mm too thick or thin will either extrude or fail to seal. Purchase from a reputable supplier; our Bosch and Denso injectors come with genuine OEM seal kits included.
The "Black Death" Problem: When a Small Leak Becomes a Big Problem
The term "Black Death" originated in the Mercedes CDI community but applies to any engine where a leaking copper injector seal is ignored. The sequence of destruction:
- Copper washer fails → combustion gases leak past the injector body
- Gases carry soot and unburned fuel into the injector bore
- Heat from combustion bakes the soot/fuel mixture into a hard, tar-like carbon deposit
- The deposit fills the bore, mechanically locking the injector in place
- The leak path widens; compression loss increases; adjacent components overheat
- In extreme cases, the carbon deposit can erode the aluminum cylinder head, requiring head replacement
Prevention is simple: at the first sign of a chuffing sound or carbon deposits around any injector, replace all seals on that injector immediately. The $20 seal kit today prevents a $3,000 cylinder head repair tomorrow.
FAQ
Can I reuse injector O-rings if they look OK?
Never. O-rings take a compression set after installation—they permanently deform to match the bore profile. Reusing an O-ring guarantees leakage. The thermal cycling of diesel engines (ambient to 200°C and back) hardens O-ring material over time. Even a visually perfect O-ring has degraded elasticity after one service interval. The parts cost is trivial compared to the labor to access the injectors again.
How often should injector seals be replaced?
Replace injector seals whenever the injector is removed for any reason. There is no mileage-based replacement interval for seals while the injector remains installed. However, if you operate in extreme conditions (high biodiesel blends, severe dust, Arctic temperatures), consider preventive seal replacement at 200,000 km as a reliability measure.
Should I replace all injector seals if only one is leaking?
If you are already removing the valve cover, replacing all accessible seals is good practice. All injectors on the same engine have seen the same thermal cycles, fuel quality, and operating hours. A proactive seal replacement on the non-leaking injectors costs little extra labor and prevents a future failure that would require a second disassembly.
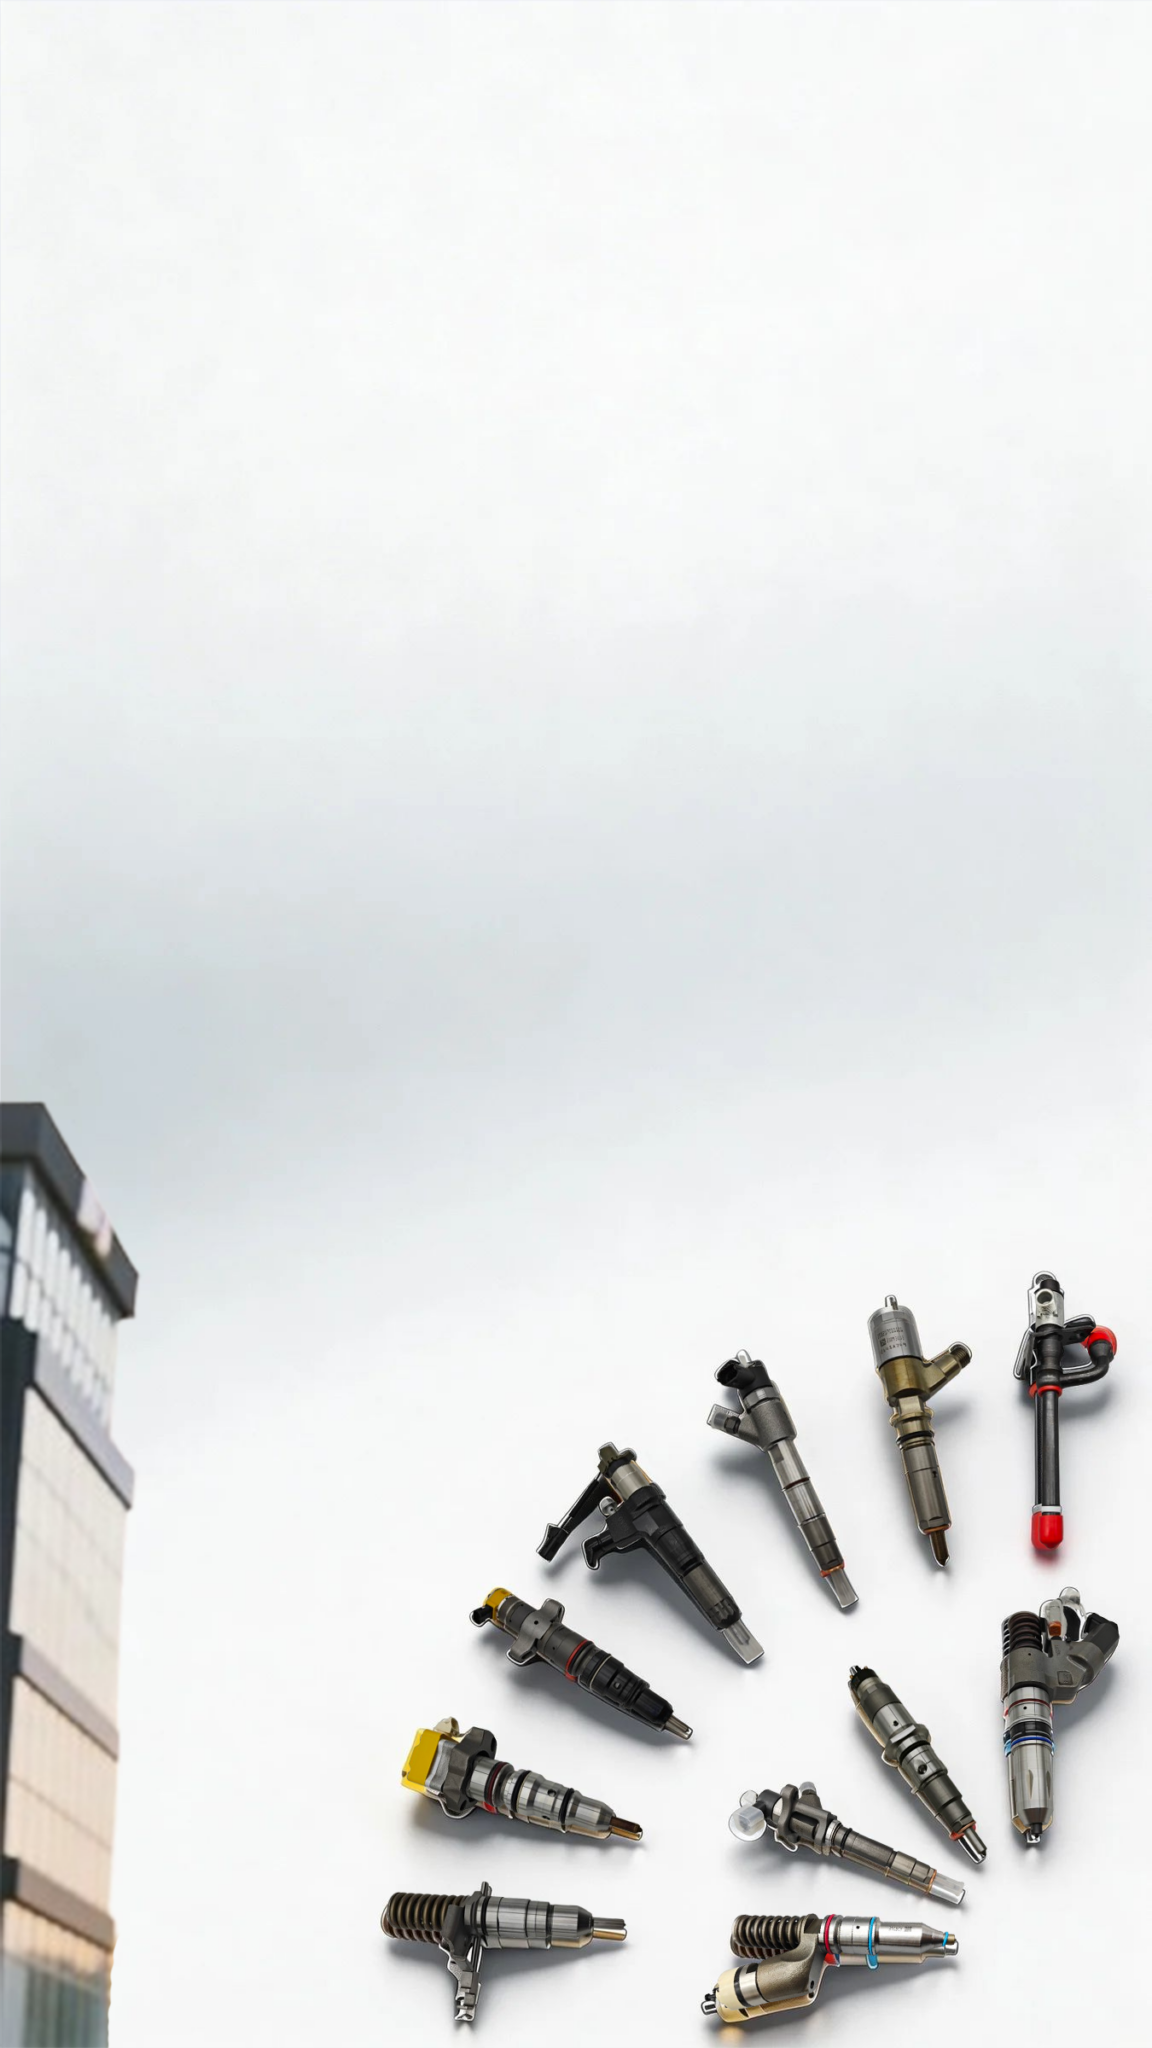
Need injector seal kits or complete injectors? Browse our Bosch injector range, Denso injector catalog, or Caterpillar injector selection for OEM-quality parts with genuine seal kits included.




JSPartsonline:
Focus on injectors for 12 years,We sell high-quality fuel injectors at competitive prices.
Copyright 2025 © YUN·X . All right reserved.
